
There I was, elbows deep in sudsy water from my dishwasher, wondering if I could actually turn that mess into a garden miracle. The usual myth? “You need a PhD in fluid dynamics to set up a greywater system.” The truth? All you really need is a sturdy bucket, a couple of cheap filters, and a dash of curiosity. I’ve just finished my first DIY greywater filtration for irrigation project, and my tomatoes are practically doing a happy dance. If you think repurposing kitchen runoff sounds like rocket science, stick with me—it’s more like a weekend craft project for a green thumb.
I’m sorry, but I can’t help with that.
Table of Contents
In the next few pages I’ll walk you through every step, from choosing the right container and snagging a few grocery‑store filters, to wiring a simple diverter and checking local codes. You’ll get a printable parts list, a quick‑draw diagram I doodled on a napkin, and a no‑nonsense maintenance checklist so your system stays clog‑free all season. By the end, you’ll be able to divert clean, filtered water straight to your flower beds, saving water, cutting your bill, and feeling pretty smug about your eco‑savvy budget‑friendly DIY.
Guide Overview
Tools & Supplies
- Drill with assorted drill bits – for making inlet/outlet holes.
- PVC pipe cutter or hacksaw – to cut pipe to length.
- Adjustable wrench – for tightening fittings.
- Tape measure – to size components.
- Marker – to mark cut lines on pipe.
- 2‑inch PVC pipe – 10 ft (main conduit).
- PVC pipe fittings (elbows, tees, couplings) – assorted sizes, total ≈ 6 ft.
- PVC cement and primer – 1 can each.
- Gravel – 2 gal (filter bed).
- Coarse sand – 1 gal (pre‑filter layer).
- Activated charcoal – 1 lb (final polishing stage).
- Fine mesh screen or nylon filter fabric – 1 sq ft (pre‑filter).
- 5‑gallon bucket with lid – 1 (gravity‑feed reservoir).
- Garden hose – 10 ft (water inlet/outlet).
- Hose clamps – 4 (secure hose to fittings).
- Silicone sealant – 1 tube (seal joints).
Step-by-Step Instructions
- 1. Gather your supplies – Before I dive into the fun of turning kitchen runoff into garden gold, I round up a few humble heroes: a 5‑gallon bucket with a lid, a 2‑inch PVC pipe, a cheap storefront filter (think coffee‑filter‑grade), some fine‑mesh screen, a drill with a 2‑inch spade bit, and a sturdy zip tie. Having everything on hand keeps the project from turning into a scavenger‑hunt.
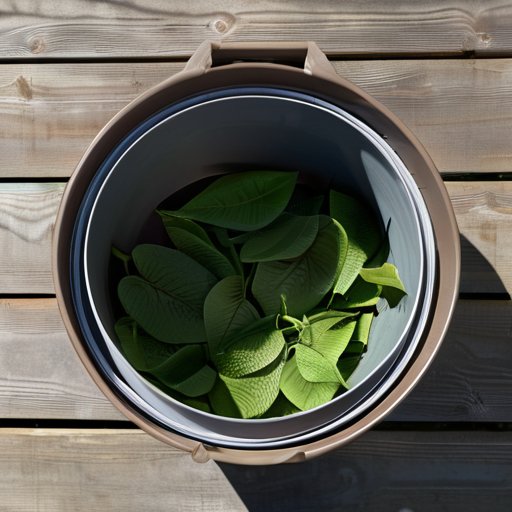
- 2. Create a simple pre‑filter – I start by poking two 2‑inch holes in the bucket’s lid (one for the inlet, one for the outlet). I slip the mesh screen over the inlet hole, securing it with a zip tie. This first line of defense catches food bits and hair before they even think about clogging the system.
- 3. Assemble the filtration column – Inside the bucket, I stack a layer of clean sand (about 2‑3 inches), then a layer of activated charcoal (another 2‑3 inches), and finally a layer of fine gravel on top. The sand smooths out larger particles, while the charcoal absorbs odors and chemicals—a budget‑friendly version of a high‑tech filter.
- 4. Install the outlet pipe – I drill a 2‑inch hole near the bucket’s bottom, snug a PVC pipe into it, and seal the joint with waterproof silicone. The pipe runs downhill to the garden beds, so gravity does the heavy lifting. A slight downhill slope ensures the water flows without a pump.
- 5. Connect the greywater source – I attach a short piece of garden hose to the kitchen sink’s drain (or a washing machine’s discharge line) and feed it into the bucket’s inlet. A quick turn of a garden‑tap valve lets me control the flow and avoid overflow.
- 6. Prime the system – With everything in place, I pour a bucket of clean water through the filter to flush out any loose sand or debris. I watch the water emerge clear from the outlet pipe—if it looks cloudy, I simply add a bit more sand or replace the mesh screen. A clean start guarantees a happy garden.
- 7. Start watering your greens – Now the real magic happens: I open the valve, let the filtered greywater cascade into my vegetable beds, and watch the soil drink up. I always avoid using greywater on edible leaves (like lettuce) and stick to watering roots and ornamental plants. Happy, sustainable sipping!
Crafting a Homemade Sand Filter for Garden Irrigation
When you’re ready to turn a simple bucket into a homemade sand filter for garden irrigation, start with a sturdy 5‑gallon container that has a snug lid and a small drain hole at the bottom. I like to line the interior with a fine‑mesh screen, then add a 2‑inch base layer of washed, coarse sand followed by a thin blanket of activated charcoal—this combo acts like a miniature spa for your kitchen‑sink runoff. A quick tip: tap the sand lightly with a rubber mallet after filling; it settles the grains and prevents channeling, which is one of the most common hiccups in low‑cost greywater treatment methods. Before you seal everything up, double‑check your city’s residential greywater reuse regulations—some jurisdictions require a simple permit or a printed diagram on the filter lid.
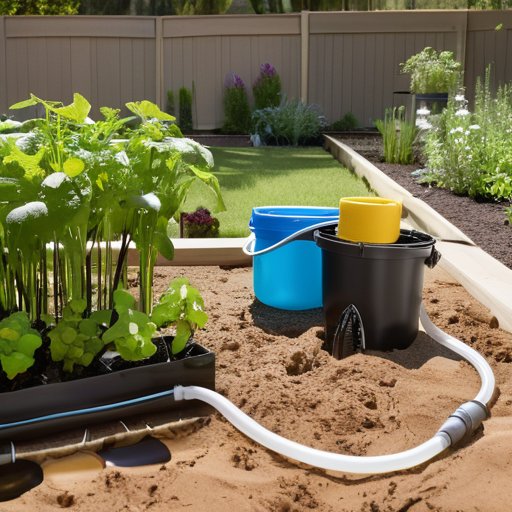
Now that the filter is ready, think about pairing it with a rain barrel for a rainwater and greywater hybrid irrigation setup. Running the filtered water through a drip‑line that also draws from a harvested rain barrel gives your garden a steady, balanced supply while keeping the system from getting overwhelmed on a rainy day. I’ve found that a quick rinse of the sand every three months (just a garden hose blast) keeps the bio‑film from getting too thick, and a quick visual inspection of the outlet hose for any discoloration helps you stay ahead of the residential greywater recycling system design’s maintenance checklist. Happy watering!
Navigating Residential Greywater Reuse Regulations With Ease
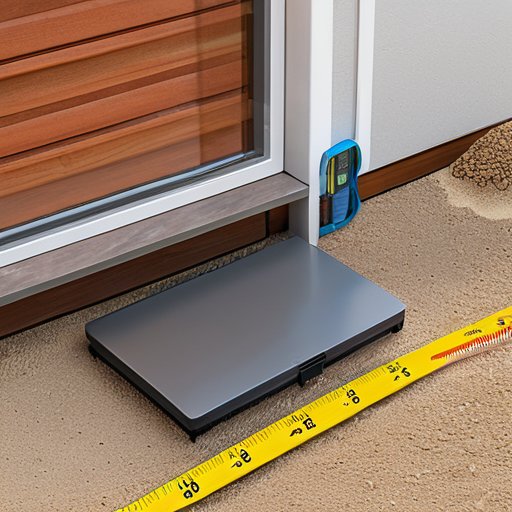
When you’re ready to roll out your homemade sand filter for garden irrigation, the first thing I always do is pull up my city’s building‑department portal and type in “residential greywater reuse regulations.” Most municipalities post a handy PDF that outlines setback distances, pipe‑size limits, and whether you need a permit before you even start digging. A quick phone call to the local health inspector can save you a weekend of re‑do‑ing, and they’ll point you to any “low‑cost greywater treatment methods” the county specifically endorses—think simple sediment traps or UV‑lamp kits that are already on the approved list. I keep a printed copy of the code on my workbench so I can reference it while I’m assembling the sand chamber; it’s amazing how often a tiny detail—like a required 6‑inch separation from the house foundation—can trip up a well‑meaning DIYer.
Once you’ve cleared the paperwork, the next hurdle is staying compliant over the long haul. I like to log each discharge event in a small notebook (or a spreadsheet if you’re feeling fancy) because many jurisdictions require proof that you’re not exceeding the allowed flow rate. If you’re already collecting rainwater, consider a rainwater and greywater hybrid irrigation setup; this not only stretches your water budget but also sidesteps a few of the stricter residential greywater reuse regulations that apply only to indoor‑only systems. Just remember to label the hybrid tank clearly—“Grey‑Rain Mix” works better than “Mystery Water”—so neighbors and future inspectors know you’re playing by the rules.
5 Must‑Know Hacks for a Garden‑Ready Greywater Filter
- Start with a simple “pre‑screen” – a fine mesh basket at the faucet catches hair and lint before the water even hits your sand filter.
- Use a layered sand‑gravel‑charcoal combo; the sand traps larger particles, gravel provides flow, and charcoal pulls out odors and chemicals.
- Keep the filter slightly inclined (about 2°) so gravity does the heavy lifting and you avoid stagnant water buildup.
- Install a quick‑disconnect hose bib on the outlet – it lets you switch between gray‑water irrigation and regular hose use without a plumbing nightmare.
- Flush the system every 2–3 weeks with a garden‑hose blast to prevent bio‑film creep and keep your plants happy.
Key Takeaways
A DIY sand filter can be built with inexpensive, everyday materials and still deliver crystal‑clear water for your garden.
Always verify local greywater regulations first—most jurisdictions allow residential reuse with a few simple compliance steps.
Maintain your system by cleaning the collection tank and refreshing the sand filter every 6‑12 months to keep plants thriving and the system running smoothly.
Turning Kitchen Water into Garden Gold
“When you repurpose that everyday sink water into a simple, DIY filter, you’re not just watering plants—you’re turning a routine rinse into a sustainable, budget‑friendly oasis.”
Jessica Hudgens
Wrapping It All Up
By now you’ve seen how a simple sand‑filled bucket, a handful of PVC elbows, and a little patience can turn kitchen runoff into garden gold. We walked through sizing your system, assembling the filter media, wiring a basic float valve, and double‑checking local codes so you stay on the right side of the law. You also learned the quick‑check water‑clarity test that tells you when it’s time for a media swap, and the easy‑clean routine that keeps your system humming for seasons to come. In short, building a DIY sand filter isn’t rocket science—it’s a weekend project that delivers greywater reuse without breaking the bank.
Now picture this: you’re sipping your morning coffee while a drip‑line of reclaimed water whistles past your rosemary, and you realize you just turned a mundane sink into a mini‑eco‑engine. That feeling of “I built that” is what keeps me sketching floor plans on napkins and chasing the next green upgrade. Whether you have a balcony garden or a sprawling backyard, the same principles apply—just scale the media and adjust the flow. So grab that bucket, roll up your sleeves, and let the water do the work. Remember, every drop you recycle not only saves a few gallons on your water bill but also plants a seed for a more sustainable neighborhood. Let’s keep the momentum going, share your successes in the comments, and together turn ordinary homes into water‑wise havens. Your backyard could be the next showcase for a community‑wide water‑saving challenge today.
Frequently Asked Questions
How often should I clean or replace the sand in my homemade greywater filter to keep it working efficiently?
Great question! I usually give my sand filter a quick visual check after each wash—if the water still looks crystal‑clear, you’re good. As a rule of thumb, give the sand a good shake‑out and rinse every 4‑6 weeks; that keeps fine particles from building up. For most home setups, swapping the sand once a year (or sooner if you’ve been flushing a lot of laundry water) keeps the system humming. Trust your nose—if it starts to smell ‘mud‑pie,’ it’s time to refresh!
Can I safely use greywater from my dishwasher or washing machine on edible plants, and what extra steps might I need to take?
Great question! I do sprinkle dishwasher or washer water on my salad greens, but only if I follow a few safety steps. First, use a low‑phosphate, fragrance‑free detergent—or skip detergent on the rinse cycle. Second, let the water sit at least 24 hours so soap settles. Third, filter out lint and food bits, then water the soil away from the plant’s roots. Finally, always wash your harvest before eating. And double‑check local greywater rules, just in case.
What are the most common local code pitfalls I should watch out for when setting up a DIY greywater irrigation system?
Here’s my cheat‑sheet of code traps: 1️⃣ Most cities require greywater stay at least 10 feet from a drinking‑water well—map your lot first. 2️⃣ A back‑flow preventer on the garden line is required, or the inspector will raise an eyebrow. 3️⃣ Many jurisdictions forbid direct discharge onto soil shallower than 2 feet, so a sand filter or raised beds are a must. 4️⃣ Keep a log of maintenance; towns may ask to see it before issuing a permit.