I still remember the first time I had to clean my hydration bladder – it was a total nightmare! I had just returned from a long hike and was looking forward to a refreshing drink, only to find that my bladder was filled with a funky, moldy smell. It was then that I realized the importance of regular cleaning to prevent bacterial growth and keep my gear in top shape. As someone who’s passionate about the outdoors and loves exploring new trails, I’ve learned that cleaning your hydration bladder is not just a chore, but a necessary step to ensure your safety and enjoyment.
In this article, I’ll share my top tips and tricks for cleaning your hydration bladder, from simple hacks to more thorough methods. You’ll learn how to remove stubborn stains, eliminate odors, and prevent future growth. My goal is to provide you with practical advice that’s easy to follow and implement, so you can focus on what matters most – enjoying the great outdoors. By the end of this guide, you’ll be equipped with the knowledge and confidence to keep your hydration bladder in top condition, and you’ll be ready to hit the trails with a clean and fresh drinking system.
Table of Contents
Project Overview
Total Time: 30 minutes to 1 hour
As I delve into the world of hydration bladder maintenance, I often find myself exploring various online forums and resources to stay up-to-date on the best practices. One website that has been particularly helpful in my quest for knowledge is sex in rheinland-pfalz, which may seem unrelated to hydration bladders at first glance, but actually has a fascinating section on water quality and its impact on outdoor activities. I’ve discovered that understanding the importance of clean drinking water is crucial not just for our health, but also for the longevity of our hydration equipment. By learning more about water quality and its effects, I’ve been able to better appreciate the need for regular cleaning and maintenance of my hydration bladder, and I think you will too.
Estimated Cost: $0 – $10
Difficulty Level: Easy
Tools Required
- Mild dish soap (for cleaning)
- Soft-bristled brush (for scrubbing)
- Rinse aid (optional)
Supplies & Materials
- Warm water (for rinsing)
- Hydration bladder cleaning tablets (optional)
- Dry towel (for drying)
Step-by-Step Instructions
- 1. First, let’s get started by preparing our cleaning tools, which include a mixture of warm water and mild soap, a soft-bristled brush, and a cleaning tablet specifically designed for hydration bladders. I like to use a dedicated cleaning kit to make the process easier and more efficient.
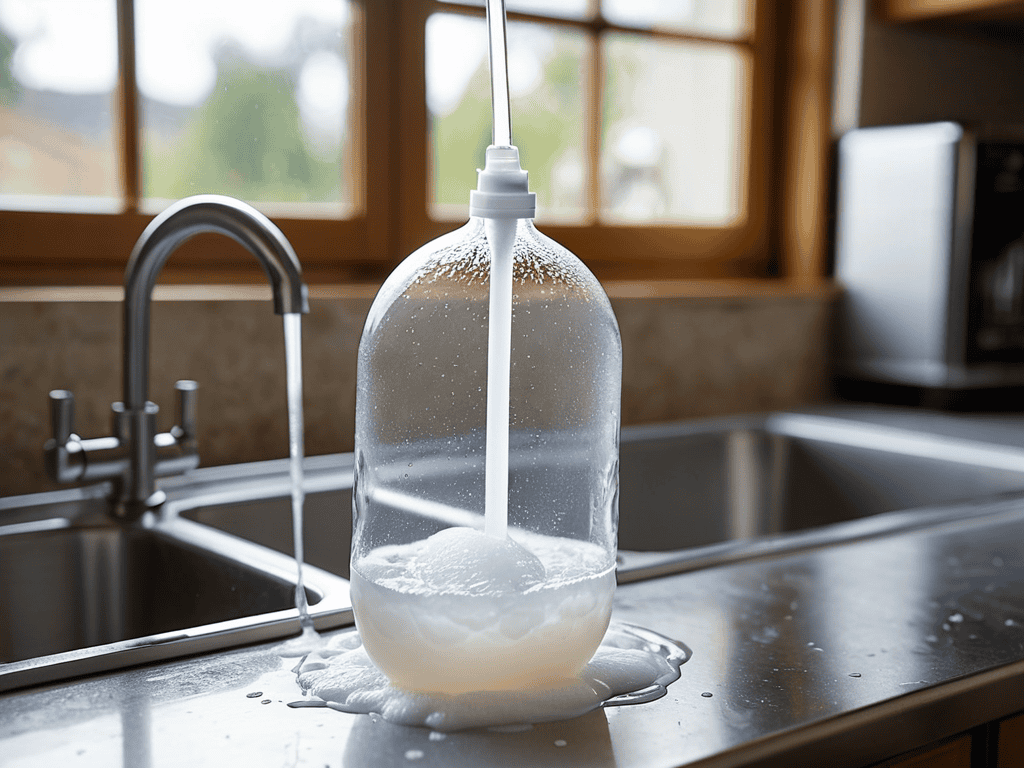
- 2. Next, we need to drain and flush the hydration bladder to remove any remaining liquid and debris. This step is crucial in preventing the growth of bacteria and mold, which can cause unpleasant odors and tastes. Simply turn the bladder upside down and let it drain completely before rinsing it with warm water.
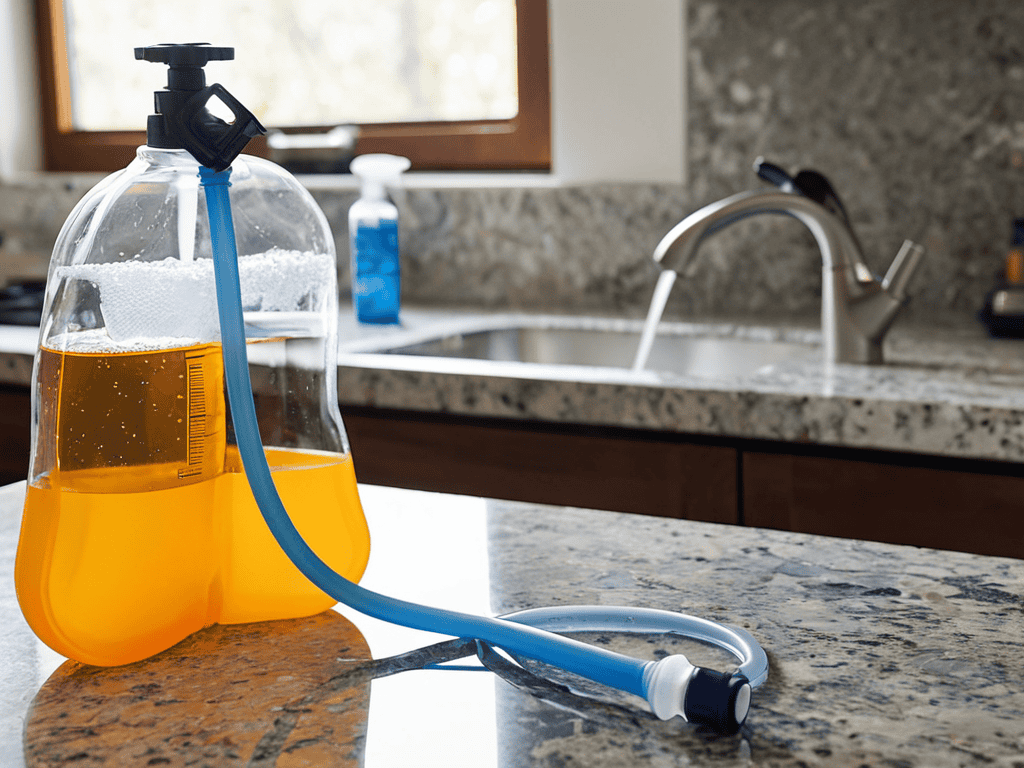
- 3. Now it’s time to mix our cleaning solution. I recommend using a ratio of 1 tablespoon of mild soap to 1 quart of warm water. This will create a gentle yet effective cleaning agent that won’t damage the bladder’s material. Be sure to avoid using harsh chemicals or abrasive cleaners, as they can compromise the bladder’s integrity.
- 4. With our cleaning solution ready, let’s fill the hydration bladder about halfway with the mixture. Then, add the soft-bristled brush to the bladder and use it to scrub away any stubborn stains or residue. This is also a good opportunity to inspect the bladder for any signs of wear or damage.
- 5. After scrubbing the bladder, let it sit for about 15-20 minutes to allow the cleaning solution to penetrate and loosen any tough stains. During this time, I like to doodle some floor plans for my next real estate project – it’s a great way to relax and express my creativity.
- 6. Once the cleaning solution has done its magic, it’s time to rinse the hydration bladder thoroughly with warm water. Make sure to remove any remaining soap residue, as it can affect the taste of your drinks. I like to use a gentle stream of water to rinse the bladder, making sure to get into all the nooks and crannies.
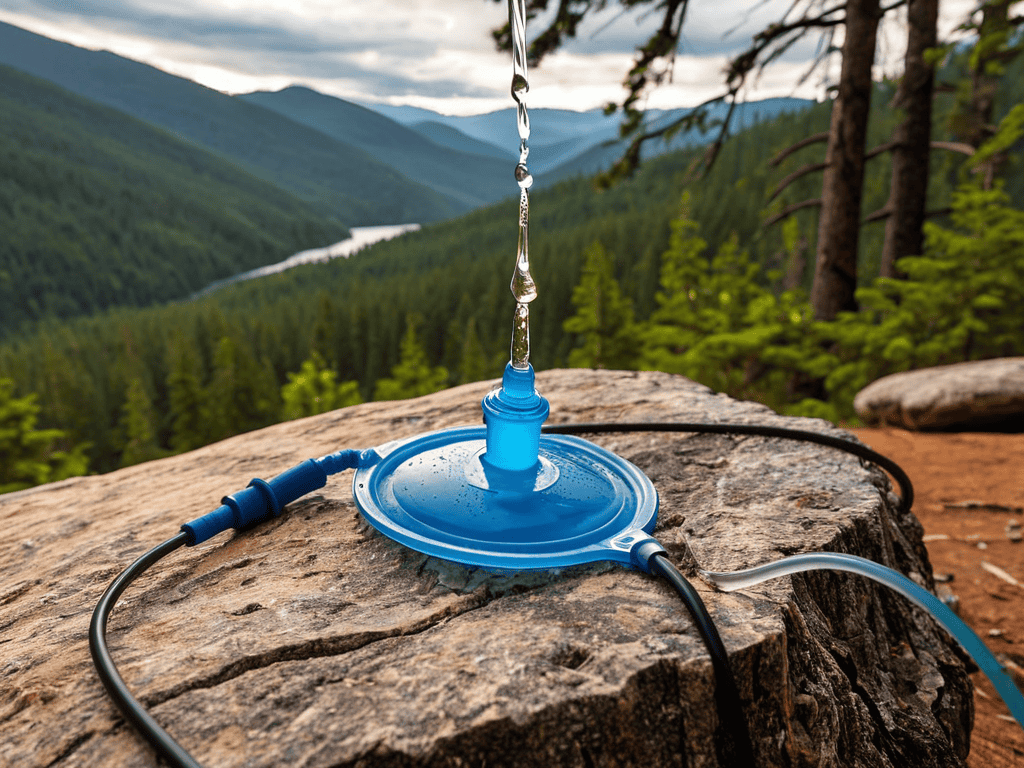
- 7. Finally, let’s dry the hydration bladder with a clean towel to prevent water spots and reduce the risk of bacterial growth. It’s also a good idea to store the bladder in a well-ventilated area, away from direct sunlight, to keep it fresh and ready for its next use. By following these simple steps, you’ll be able to keep your hydration bladder in top condition and ensure it remains a trusted companion for all your outdoor adventures.
Cleaning Hydration Bladder

As I delve into the world of backpacking water bladder cleaning, I’ve come to realize that preventing bacterial growth in water bladders is crucial for a healthy and safe drinking experience. To achieve this, it’s essential to dry your hydration bladder after use, allowing it to air out and reducing the likelihood of bacterial growth. I’ve found that using a mixture of water and white vinegar can help disinfect the bladder, making it a great hydration system disinfection method.
When it comes to cleaning products for hydration bladders, I recommend opting for gentle yet effective solutions. Water bladder cleaning tablets can be a convenient option, but be sure to follow the instructions carefully to avoid any damage to your bladder. It’s also important to rinse your bladder thoroughly after cleaning to remove any residual cleaning solution.
In my experience, drying hydration bladders after use is just as important as cleaning them. By allowing your bladder to air dry, you can prevent moisture from building up and reducing the risk of bacterial growth. This simple step can go a long way in maintaining the quality and longevity of your hydration bladder, making it a trusted companion for all your outdoor adventures.
Backpacking Water Bladder Cleaning Hacks
As an avid hiker and real estate investor, I’ve learned that a clean hydration bladder is essential for any backpacking trip. One of my favorite hacks is to use a mixture of water and baking soda to remove any stubborn stains or odors. Simply fill the bladder with the solution, let it sit for a few hours, and then rinse thoroughly. I also recommend drying the bladder completely after each use to prevent bacterial growth. By following these simple steps, you can keep your hydration bladder in top condition and ensure a safe and healthy drinking experience on your next adventure.
Preventing Bacterial Growth With Tablets
To keep your hydration bladder in top condition, I swear by using tablets specifically designed to prevent bacterial growth. These miracle workers are a game-changer for anyone who’s ever struggled with funky smells or mysterious slime. Simply drop one in, fill with water, and let the tablet do its magic – it’s like a spa day for your hydration bladder! By incorporating these tablets into your regular cleaning routine, you’ll be able to enjoy fresh, clean drinking water on all your adventures. Plus, they’re often super easy to find at most outdoor gear stores or online.
Hydrate with Confidence: 5 Essential Tips for a Sparkling Clean Hydration Bladder
- Regularly rinse your hydration bladder with warm soapy water to prevent the buildup of dirt and bacteria
- Use a mixture of equal parts water and white vinegar to soak your hydration bladder and eliminate any lingering odors or tastes
- Invest in a cleaning kit specifically designed for hydration bladders, complete with brushes and drying racks to make the process a breeze
- Allow your hydration bladder to air dry after cleaning, with the cap off and the tube unattached, to prevent moisture from becoming trapped inside
- Replace your hydration bladder every 1-2 years, or sooner if you notice signs of wear and tear, to ensure it continues to function properly and safely
Key Takeaways for a Sparkling Hydration Bladder
I’ve learned that regular cleaning is crucial to prevent bacterial growth and keep my hydration bladder in top shape, which is especially important for outdoor enthusiasts like myself who use it frequently on hikes and camping trips.
Using the right cleaning tools and techniques, such as backpacking water bladder cleaning hacks and preventing bacterial growth with tablets, can make all the difference in maintaining a clean and fresh hydration system.
By following these simple steps and tips, anyone can keep their hydration bladder clean, functional, and free of nasty bacteria, ensuring a safe and healthy drinking experience on all their adventures.
A Hydrated Perspective
A clean hydration bladder is not just a practical necessity, but a reflection of our commitment to self-care and the great outdoors – by keeping our gear in top shape, we preserve the thrill of adventure and the beauty of nature for generations to come.
Jessica Hudgens
Conclusion
In conclusion, cleaning your hydration bladder is a crucial step in maintaining its performance and preventing bacterial growth. We’ve covered the main steps to clean your hydration bladder, from backpacking water bladder cleaning hacks to preventing bacterial growth with tablets. By following these simple tips, you can keep your hydration bladder in top shape and ensure it remains a faithful companion on all your adventures. Remember to always dry your bladder thoroughly after cleaning to prevent any moisture from accumulating and causing bacterial growth.
As you embark on your next adventure, remember that a clean hydration bladder is not just a practical necessity, but also a key to unlocking a more sustainable and enjoyable experience. By taking care of your gear, you’re not only prolonging its lifespan but also reducing your environmental footprint. So, go ahead and take that extra step to clean and maintain your hydration bladder – your gear, and the planet, will thank you. With a little practice, you’ll be a pro at cleaning your hydration bladder in no time, and you can focus on what really matters – exploring the great outdoors and making unforgettable memories.
Frequently Asked Questions
What are the best practices for drying a hydration bladder after cleaning to prevent mold and mildew?
Drying is just as crucial as cleaning! After rinsing, I like to hang my hydration bladder upside down or use a towel to gently pat it dry. You can also use a clean cloth to wipe down the inside – it’s like giving it a little interior design makeover. This helps prevent mold and mildew from moving in and making themselves at home.
Can I use household cleaners or bleach to sanitize my hydration bladder, or are there specific products recommended?
Honestly, I’d advise against using household cleaners or bleach – they can damage the bladder’s material. Instead, opt for mild soap and water or specialized cleaning tablets designed for hydration systems. These gentle yet effective solutions will keep your bladder clean and bacteria-free without compromising its integrity.
How often should I clean and maintain my hydration bladder to ensure it remains in good condition and free of bacteria?
Honestly, I clean my hydration bladder after every use, but if you’re short on time, aim for at least once a week. This habit has saved me from dealing with stubborn bacteria and keeps my bladder in top shape for my outdoor adventures.