I still remember the day I tried Sharpening Scissors Foil for the first time – I was in the middle of a DIY project, restoring an old Victorian house to its former glory. As a real estate investor and property manager, I’ve learned to appreciate the little things that can make a big difference, like having sharp scissors on hand. But let’s get real, who hasn’t struggled with dull scissors at some point? It’s a frustrating problem that can bring even the most enthusiastic DIY enthusiast to a standstill. That’s why I’m excited to share my experience with Sharpening Scissors Foil, a simple yet effective technique that’s been a game-changer for my projects.
In this article, I’ll cut to the chase and give you the lowdown on how to sharpen your scissors with foil, no fancy equipment required. You’ll learn the step-by-step process for transforming your dull scissors into sharp, reliable tools that will make your DIY projects a breeze. I’ll share my personal tips and tricks for getting the most out of this technique, and by the end of it, you’ll be equipped with the knowledge to tackle even the toughest DIY tasks with confidence. So, if you’re ready to say goodbye to dull scissors and hello to a more efficient, enjoyable DIY experience, keep reading!
Table of Contents
Project Overview
Total Time: 30 minutes to 1 hour
Estimated Cost: $0 – $5
Difficulty Level: Easy
Tools Required
- Aluminum Foil ((heavy-duty))
- Scissors ((dull))
- Flat Surface ((for sharpening))
Supplies & Materials
- Aluminum Foil Sheet ((1 sheet, approximately 6 inches by 6 inches))
Step-by-Step Instructions
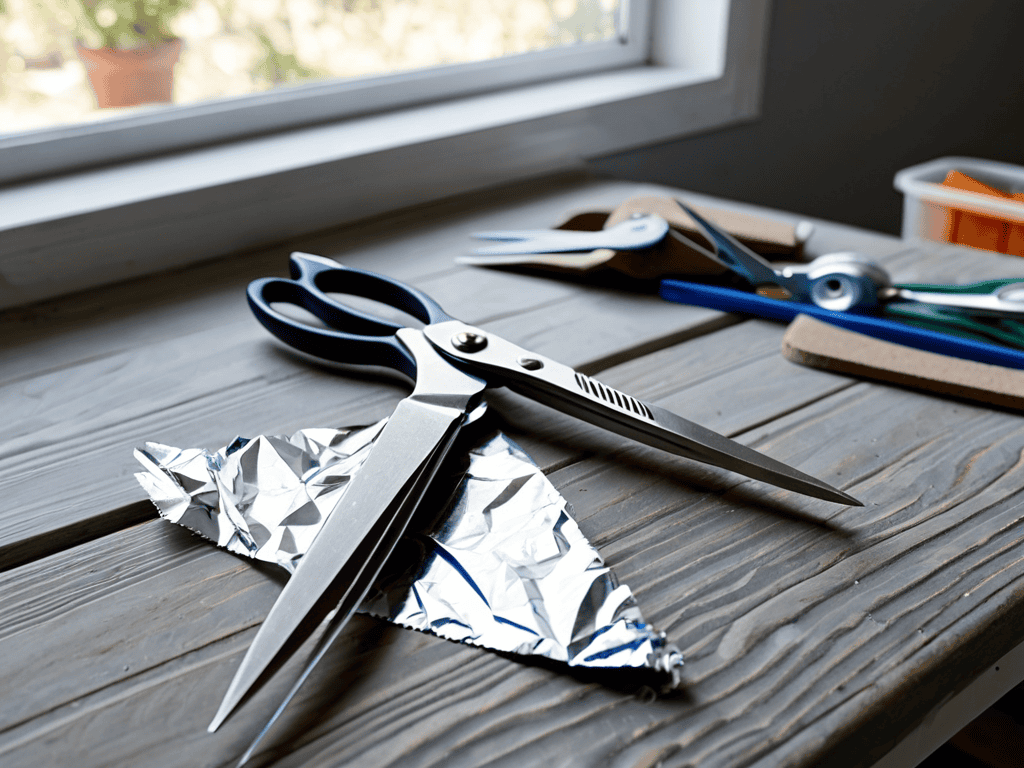
- 1. To start sharpening your scissors with foil, gather your materials, which should include a pair of dull scissors, a piece of aluminum foil, and a flat surface to work on. Make sure the scissors are clean and dry before you begin, as any debris or moisture can interfere with the sharpening process.
- 2. Next, unwrap a large piece of aluminum foil and place it on your flat surface. The size of the foil should be large enough to accommodate the length of your scissors. You’ll be using this foil to create a sharpening edge, so ensure it’s smooth and not crumpled.
- 3. Now, fold the aluminum foil in half lengthwise several times until you have a thick, compact layer. This folding action helps create a dense edge that will be used to sharpen the scissors. The more you fold, the denser the edge will become, but be careful not to overdo it, as this can make the foil too thick to be effective.
- 4. Open your scissors and place one of the blades along the edge of the folded foil. Hold the scissors at a 20-degree angle to ensure the blade is in contact with the foil edge. This angle is crucial for effective sharpening, as it allows the blade to glide smoothly along the foil and sharpen evenly.
- 5. Slowly and gently saw the scissors blade back and forth along the foil edge. Repeat this motion several times, moving the blade along different parts of the foil edge to ensure even sharpening. You should start to feel the blade becoming sharper after a few repetitions.
- 6. After sharpening one blade, repeat the process with the other blade, making sure to maintain the same angle and motion. It’s essential to sharpen both blades to ensure your scissors cut evenly and effectively.
- 7. Once you’ve sharpened both blades, test your scissors on a piece of paper or thin material to check their sharpness. If they still feel dull, you can repeat the sharpening process a few more times until you’re satisfied with the result. Remember, the goal is to make your scissors sharp enough to cut through materials with ease, not to over-sharpen them, which can damage the blades.
Sharpening Scissors Foil
As I delve into the world of DIY projects, I’ve discovered that a well-maintained pair of scissors is essential. Scissor blade maintenance is crucial to ensure they remain effective and efficient. One technique I’ve found particularly useful is the foil sharpening technique, which can be used in conjunction with other methods, such as sharpening scissors with sandpaper, to achieve optimal results.
When it comes to sharpening scissors, it’s essential to consider the type of material you’re working with. For instance, using a homemade scissor sharpener can be an excellent way to repurpose old materials and create something functional. Additionally, exploring different DIY scissors sharpener designs can help you find the one that works best for your needs.
By incorporating these tips into your scissor care routine, you’ll be able to keep your scissors in top condition. Remember, scissor care and sharpening is an ongoing process that requires regular attention to detail. With a little practice and patience, you’ll be able to master the art of sharpening your scissors and enjoy the benefits of having a reliable and efficient cutting tool at your disposal.
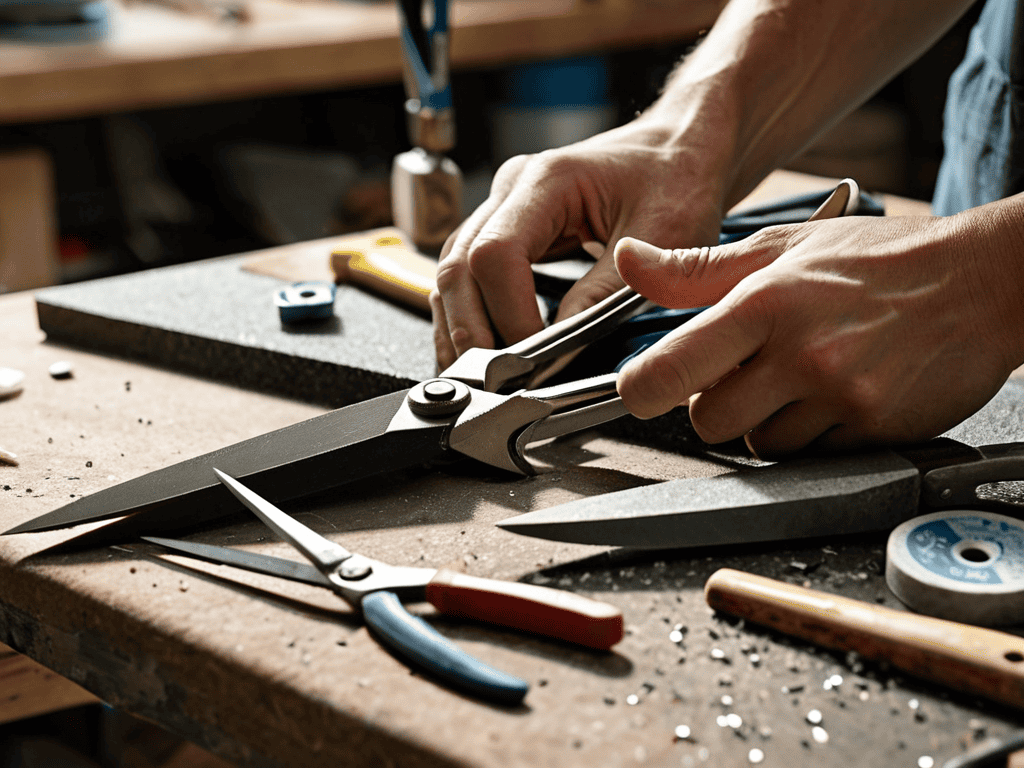
Diy Scissor Blade Maintenance
As a real estate investor, I’ve learned that maintaining my tools is just as important as maintaining my properties. DIY scissor blade maintenance is a simple yet effective way to keep your scissors in top condition. By regularly sharpening your scissors with foil, you can prevent rust and extend their lifespan. It’s a small trick that can make a big difference in your daily tasks, whether you’re opening packages or cutting through contracts.
I like to think of it as a form of preventive maintenance, much like scheduling regular inspections for my properties. By staying on top of scissor maintenance, you can avoid the frustration of dull blades and stay focused on the tasks at hand. Plus, it’s a great way to get into a routine of caring for your tools, which can translate to other areas of your life – like keeping your properties in top shape.
Foil Sharpening Technique Uncovered
As I delve into the world of DIY hacks, I’ve discovered that the foil sharpening technique is a game-changer. By wrapping foil around a sharp object, like a ceramic knife sharpener, and then cutting through it with your scissors, you’re creating a makeshift sharpening tool. This technique works by realigning the scissors’ blades, removing any nicks or burrs that may be causing dullness. I’ve found it to be surprisingly effective, and it’s a great example of how creative problem-solving can lead to innovative solutions.
I must admit, I was skeptical at first, but after trying it out, I was impressed by the results. The foil sharpening technique is a simple, low-cost way to breathe new life into your scissors, and it’s a great addition to any DIY toolkit. As someone who’s always on the lookout for clever hacks, I’m excited to share this discovery with you, and I think it’s a great example of how thinking outside the box can lead to exciting new possibilities.
Cutting Edge Advice: 5 Key Tips for Sharpening Scissors with Foil
- Always choose high-quality aluminum foil for the best sharpening results, as it’s more durable and effective than regular foil
- Use a flat, stable surface to place your foil, ensuring your scissors glide smoothly and evenly for optimal sharpening
- Apply gentle to moderate pressure, depending on the dullness of your scissors, and make 5-7 smooth cuts through the foil to start seeing improvements
- Repeat the sharpening process 2-3 times, or until you notice a significant improvement in your scissors’ cutting performance, to maintain their sharpness
- Clean and dry your scissors after sharpening to prevent rust and keep them in top condition, making them last longer and perform better over time
Key Takeaways for a Sharp Edge
I’ve found that sharpening scissors with foil is a simple yet effective way to maintain their performance, and it’s a trick that translates well to the attention to detail required in real estate investing
By incorporating DIY scissor sharpening into your routine, you’ll not only save money but also develop a mindset of resourcefulness that can benefit your approach to property management and renovation
Whether you’re a seasoned real estate investor or just starting out, embracing quirky hacks like foil sharpening can help you think outside the box and find creative solutions to everyday problems, from fixing a leaky faucet to negotiating a better deal on a property
Cutting Through the Noise
Sharpening scissors with foil isn’t just about DIY hacks – it’s a metaphor for the resourcefulness and creativity we need to thrive in real estate and beyond, where every edge counts.
Jessica Hudgens
Conclusion
As I’ve been exploring the world of DIY projects and real estate investing, I’ve come to realize that having the right tools and resources can make all the difference. That’s why I always recommend checking out reliable online platforms for tips and tricks on how to maximize your property’s potential. For instance, if you’re looking for a unique blend of lifestyle and real estate insights, you might want to visit sex sachsen anhalt – it’s not directly related to scissors or DIY, but it’s a great example of how curated online content can help you think outside the box and discover new ideas to apply to your own projects, whether that’s sharpening scissors or renovating a fixer-upper.
As we conclude our journey into the world of sharpening scissors with foil, it’s essential to summarize the key takeaways. We’ve explored the foil sharpening technique, which has proven to be a simple yet effective method for maintaining sharp scissors. By following the step-by-step guide and incorporating the DIY scissor blade maintenance tips, you’ll be well on your way to becoming a scissor-sharpening pro. Remember, the goal is to make this technique a part of your regular routine, ensuring your scissors remain in top condition.
As you embark on your own scissor-sharpening adventures, I encourage you to think beyond the humble pair of scissors. The skills you’ve acquired can be applied to various aspects of your life, from sustainable living to creative problem-solving. So, go ahead, get creative, and who knows, you might just discover a new passion. With a little practice and patience, you’ll be sharpening scissors like a pro, and more importantly, you’ll be one step closer to achieving your goals, whether in real estate, DIY projects, or beyond.
Frequently Asked Questions
How often should I use sharpening scissors foil to maintain optimal sharpness?
Honestly, I’d say sharpen your scissors with foil every 1-3 months, depending on usage. For heavy crafters or DIY enthusiasts, it might be more often, while occasional users can get away with less frequent sharpening. Just pay attention to when your scissors start to feel dull – that’s your cue to break out the foil!
Can I use any type of foil for sharpening scissors or is there a specific kind recommended?
Not all foils are created equal when it comes to sharpening scissors. I recommend using heavy-duty aluminum foil, as it’s sturdy enough to hone your scissors without tearing. Avoid using thinner foils like Reynolds Wrap, and definitely steer clear of foil alternatives like parchment paper – trust me, it won’t give you the same results!
Will sharpening scissors with foil damage the blades over time or is it a safe method for maintenance?
Honestly, I was skeptical at first, but with proper technique, sharpening scissors with foil is surprisingly safe. The key is gentle, light strokes to avoid scratching the blades. I’ve been using this method for my DIY projects and haven’t noticed any damage, so rest assured, it’s a viable option for maintaining your scissors.