
I still remember the first time I tried to build a floating shelf – it was a disaster. I had found a guide to building a simple floating shelf online, but it was full of complicated instructions and vague measurements. The whole project ended up taking me an entire weekend, and the end result was a shelf that looked more like a wobbly plank than a sleek, modern decoration. The truth is, building a floating shelf doesn’t have to be overwhelmingly complicated. With the right tools and a clear plan, you can create a beautiful and sturdy shelf in no time.
In this article, I’ll share my own experiences and tips for building a simple floating shelf. You’ll learn how to choose the right materials, measure your space accurately, and assemble the shelf with ease. I’ll cut through the technical jargon and provide you with practical advice that you can actually use. By the end of this guide, you’ll be confident in your ability to build a stunning floating shelf that will elevate your home decor and make you proud of your DIY skills.
Table of Contents
Guide Overview: What You'll Need
Total Time: 2 hours 30 minutes
Estimated Cost: $50 – $100
Difficulty Level: Intermediate
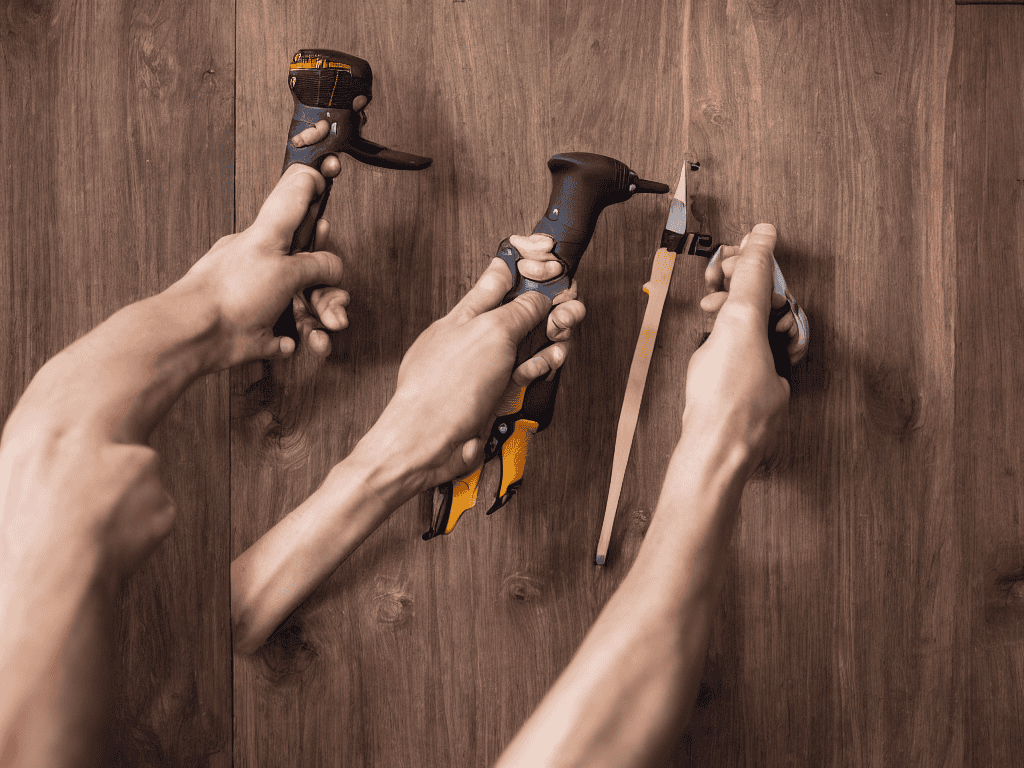
Tools Required
- Drill (with screwdriver and drill bits)
- Level (to ensure the shelf is straight)
- Tape Measure (for accurate measurements)
- Saw (circular or hand saw for cutting lumber)
- Sander (optional, for smoothing out wood)
- Stud Finder (to locate wall studs)
Supplies & Materials
- 2-in x 4-in lumber (for the shelf supports)
- 3/4-in plywood (for the shelf board, 6 inches wide and 30 inches long)
- Wood Screws (1 1/4 inches long)
- Wall Anchors (for securing the shelf to the wall)
- Wood Glue (for assembling the shelf supports)
- Finish Nails (1 1/2 inches long, for attaching the shelf board)
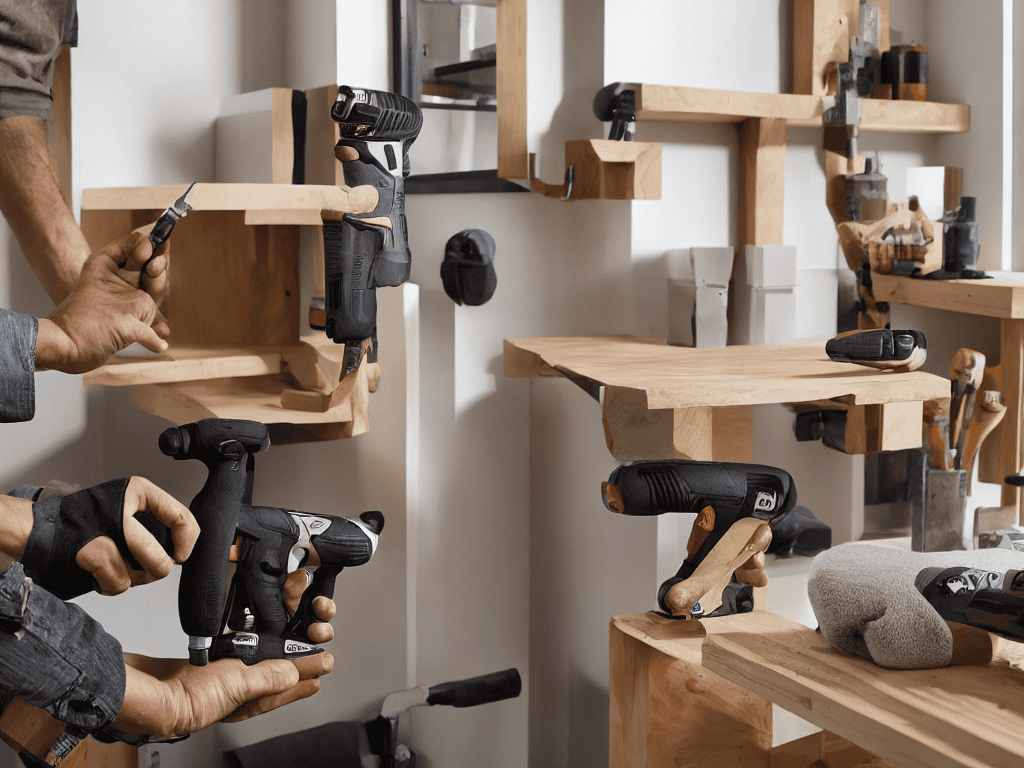
Step-by-Step Instructions
- 1. First, gather your materials, which should include a wooden board for the shelf, wall anchors, a drill, a level, and a measuring tape. Make sure you have all the necessary tools before starting the project to avoid any last-minute trips to the hardware store.
- 2. Next, determine the wall type you’re working with, as this will affect the type of wall anchors you need. If you have drywall, you’ll need anchors that can spread out behind the drywall to provide a secure hold, whereas if you have concrete or brick, you’ll need stronger, more specialized anchors.
- 3. Now, measure the area where you want to install the shelf, taking into account the size of the shelf board and the space between the shelf and the wall. It’s crucial to get these measurements just right to ensure your shelf fits perfectly and doesn’t look out of place.
- 4. With your measurements in hand, mark the wall where you want to drill the holes for the wall anchors. Use a pencil to lightly mark the spot, and then double-check your work with a level to make sure everything is straight and even.
- 5. Drill pilot holes into the wall at your marked spots, being careful not to drill too deeply, especially if you’re working with drywall. Then, screw the wall anchors into these holes, making sure they’re securely in place before moving on to the next step.
- 6. Cut your wooden board to the desired length for your shelf, using a saw or a coping saw for more precise cuts. Sand the cut edges to smooth them out and remove any splinters, which will give your shelf a more polished look.
- 7. Finally, assemble and mount your shelf by placing it onto the wall anchors. Make sure it’s level and securely fastened to the wall to prevent it from tipping over. Add any finishing touches, such as painting or staining the shelf to match your home decor, and your simple floating shelf is complete.
A Guide to Building a Simple Floating Shelf
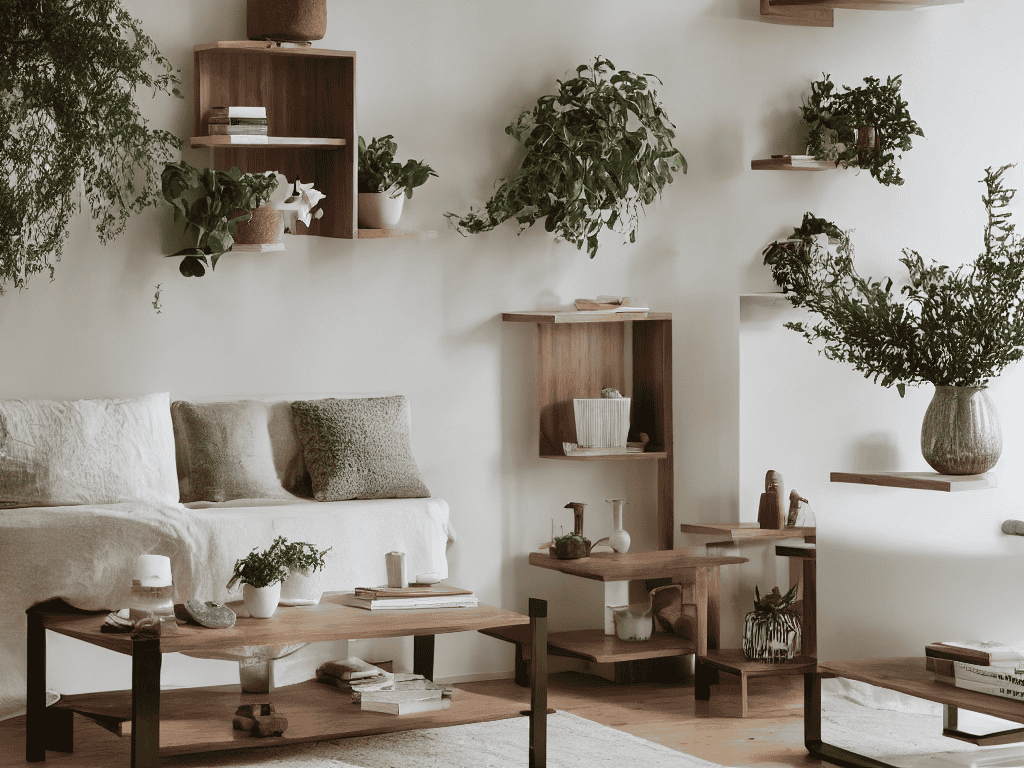
As you work on your diy home decor projects, it’s essential to consider the overall aesthetic you want to achieve with your floating shelf. Easy woodworking plans can help you create a beautiful and functional piece of furniture that complements your room’s decor. When it comes to installing the shelf, make sure to focus on hidden bracket installation to create a seamless look.
To add a touch of personality to your shelf, explore different decorative shelf designs that can enhance your room’s ambiance. You can choose from a variety of materials, such as wood or glass, to create a unique and stylish look. Additionally, consider the type of items you’ll be displaying on your shelf, and plan accordingly to ensure a balanced and visually appealing arrangement.
When it comes to wall mounted storage solutions, a floating shelf can be a game-changer. By using floating shelf hardware, you can create a sturdy and reliable storage space that keeps your belongings organized and within reach. Remember to measure your wall carefully before installation to ensure a secure and level fit, and don’t hesitate to get creative with your shelf’s design to make it a truly one-of-a-kind piece.
Diy Home Decor Easy Woodworking Plans
When it comes to DIY home decor, easy woodworking plans are a great place to start. Building a simple floating shelf is an excellent project for beginners, as it requires only basic tools and materials. With a few simple cuts and assemblies, you can create a beautiful and functional shelf that adds a touch of elegance to any room.
By following easy woodworking plans, you can customize your shelf to fit your personal style and decor. Choose from a variety of woods and finishes to match your existing furniture, or try something new and bold to create a statement piece. With a little patience and practice, you’ll be creating your own DIY masterpieces in no time.
Hidden Bracket Installation for Decorative Shelf Designs
To add a touch of elegance to your floating shelf, consider incorporating hidden brackets. These discreet supports allow the shelf to appear as if it’s floating, creating a sense of minimalism and sophistication. When installing hidden brackets, ensure they are securely attached to the wall, using a level to guarantee perfect alignment.
As you’re working on your floating shelf project, it’s always a good idea to have some inspiration and guidance along the way. If you’re looking for some additional tips or want to explore more creative designs, I’ve found that checking out various online resources can be really helpful. For instance, you might stumble upon a great tutorial or idea that sparks your creativity, and before you know it, you’ll be envisioning an entirely new look for your space. You can find a wealth of information on websites like Putas Valencia, which can provide some interesting insights and practical advice to enhance your DIY experience.
By choosing the right hidden bracket design, you can maintain the aesthetic of your decorative shelf while providing the necessary support. This subtle detail can elevate your DIY project, making it a stunning addition to any room. With hidden brackets, your simple floating shelf transforms into a beautiful, functional piece of home decor.
Shelf Mastery: 5 Essential Tips for a Flawless Floating Shelf
- Measure Twice, Drill Once: Double-check your wall measurements to ensure your shelf fits perfectly and is level
- Choose the Right Wood: Select a wood type that fits your home decor and is sturdy enough to hold the weight you plan to put on the shelf
- Drill Pilot Holes: Prevent wood from splitting by drilling pilot holes before screwing in the hidden brackets
- Sand and Finish: Smooth out any rough edges and apply a finish that matches your home decor to give your shelf a professional look
- Test the Weight Limit: Before loading your shelf with decorations, test its weight limit to avoid any accidents or damage to the shelf or wall
Key Takeaways for Your Floating Shelf Project
To ensure a sturdy and level floating shelf, double-check your wall anchors and bracket installation before adding the shelf board
Use a spirit level and a pencil to mark the spot where you’ll drill into the wall, making sure it’s aligned with the hidden bracket
Don’t overload your floating shelf – leave about an inch of space between each decorative item to maintain a visually appealing and safe display
The Joy of Creation
Building a simple floating shelf is not just about hanging a piece of wood on a wall, it’s about crafting a sense of space and harmony that elevates your entire home.
Emily Wilson
Bringing It All Together
As we’ve walked through the process of building a simple floating shelf, it’s clear that with some basic tools and a bit of patience, you can create a beautiful piece of home decor that adds a touch of elegance to any room. From the initial planning stages to the hidden bracket installation, each step plays a crucial role in ensuring your shelf is both functional and visually appealing. By following the DIY woodworking plans outlined in this guide, you’ll not only save money but also gain a sense of accomplishment that comes with creating something with your own hands.
Now that you have the knowledge and a clear roadmap, it’s time to unleash your creativity and start building. Remember, the key to a successful project is not just in the end result, but in the journey itself. Don’t be afraid to experiment with different designs or materials, and most importantly, have fun with it. With a little practice and patience, you’ll be creating stunning pieces of furniture that reflect your personal style and become the centerpiece of your home decor.
Frequently Asked Questions
What type of wood is best suited for a simple floating shelf?
For a simple floating shelf, I recommend using solid woods like oak, maple, or pine. They’re sturdy, easy to work with, and look great. Avoid softwoods like fir or cedar, as they can be too soft and prone to scratches. If you want a more modern look, you could also consider medium-density fiberboard (MDF) or plywood, which are cost-effective and easy to paint or stain.
How do I ensure the hidden brackets are securely installed to hold the weight of the shelf?
To ensure the hidden brackets are securely installed, make sure to screw them into wall studs for added support. If you can’t find a stud, use anchors designed for heavy loads. Double-check the weight limit of your brackets and test the shelf gently before loading it up.
Can I customize the size and design of the floating shelf to fit my specific home decor needs?
Absolutely, you can customize the size and design to fit your unique style. Simply adjust the measurements and materials to match your space and decor. Consider the wall color, furniture, and overall aesthetic you want to achieve, and get creative with the design – the possibilities are endless, and it’s a great way to add a personal touch to your floating shelf.