
I still remember the first time I attempted a DIY flooring project – I was determined to prove to myself that I could transform my living room without breaking the bank. The myth that DIY flooring projects are only for seasoned carpenters or professionals is simply not true. With the right guidance and a bit of patience, anyone can achieve professional-looking results. I’ve learned that the key to success lies in meticulous planning and a willingness to get your hands dirty.
In this article, I’ll share my personal experience and practical advice on how to tackle DIY flooring projects with confidence. You’ll learn how to choose the right materials, prepare your space, and execute your vision without overspending. I’ll cut through the hype and provide you with honest, no-nonsense tips on how to bring your flooring ideas to life. Whether you’re a beginner or a seasoned DIY enthusiast, this guide will equip you with the knowledge and inspiration you need to take on your next DIY flooring project and achieve amazing results.
Table of Contents
- Guide Overview: What You'll Need
- Step-by-Step Instructions
- Transforming Spaces With Diy Flooring Projects
- Nailing It: 5 Essential Tips for DIY Flooring Success
- Key Takeaways for a Successful DIY Flooring Project
- The Heart of DIY Flooring
- Conclusion: Bringing Your Vision to Life
- Frequently Asked Questions
Guide Overview: What You'll Need
Total Time: 2 hours 30 minutes to several days
Estimated Cost: $100 – $500
Difficulty Level: Intermediate / Hard
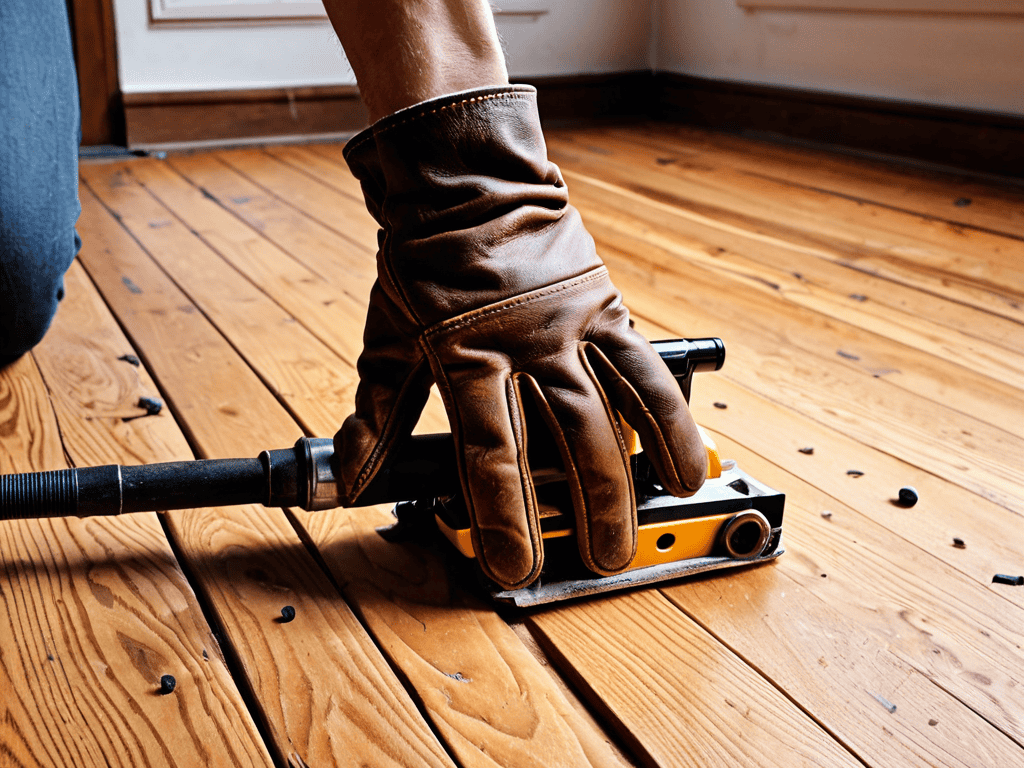
Tools Required
- Tape Measure for accurate measurements
- Circular Saw for cutting lumber
- Drill with various drill bits
- Mallet for tapping pieces into place
- Level to ensure even installation
- Pencil and Marker for marking cuts and positions
Supplies & Materials
- 2-in x 6-in lumber for subfloor support
- Plywood or Oriented Strand Board for subfloor
- Flooring Nails or Staples for securing flooring
- Adhesive for bonding flooring materials
- Flooring Material of Choice e.g., hardwood, laminate, tile
- Underlayment for smoothing subfloor and sound reduction
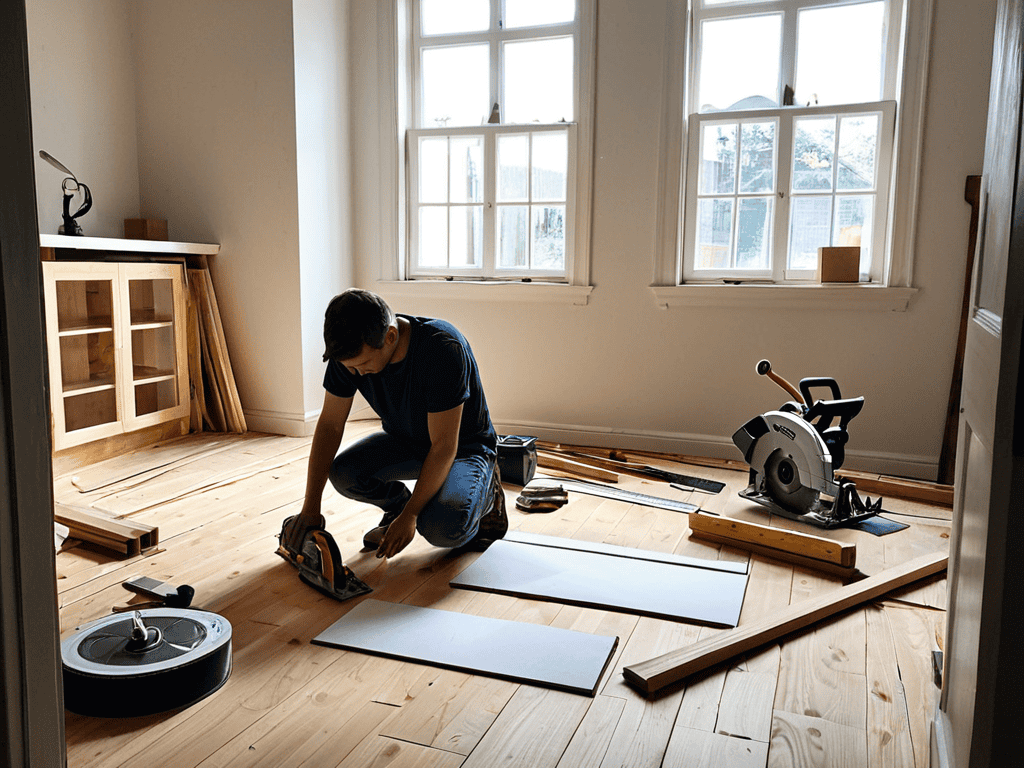
Step-by-Step Instructions
- 1. First, prepare your space by clearing the room of any furniture, curtains, or rugs, and covering the walls and any remaining furniture with drop cloths or plastic sheets to protect them from dust and debris. This will give you a clean slate to work with and prevent any damage to your belongings.
- 2. Next, assess the condition of your subfloor to determine if it’s level, clean, and dry. Check for any cracks, unevenness, or signs of water damage, and make any necessary repairs before proceeding with your DIY flooring project. This step is crucial to ensure a stable and long-lasting foundation for your new floor.
- 3. Now, choose your flooring material, considering factors such as durability, maintenance, and aesthetics. Popular options include hardwood, laminate, tile, and engineered wood, each with its own unique characteristics and installation requirements. Take your time to research and select the material that best suits your needs and style.
- 4. Once you’ve selected your material, calculate the quantity needed for your project, taking into account the size of the room, the pattern you want to achieve, and any cuts or waste you’ll need to account for. Use online calculators or consult with a professional to ensure you order the correct amount and avoid unnecessary expenses.
- 5. With your materials in hand, begin the installation process by laying down underlayment or substrate, depending on your chosen flooring type. This layer provides a smooth, even surface for your flooring to adhere to, and helps to reduce noise and improve insulation. Follow the manufacturer’s instructions for application and drying times.
- 6. Next, start installing your flooring, working from the center of the room outwards to ensure a symmetrical pattern and minimize cutting waste. Use a combination of nails, staples, or adhesive, depending on your flooring type, and make sure to leave enough expansion gap around the perimeter to allow for natural movement and contraction.
- 7. As you near completion, add the finishing touches by installing baseboards, trim, and moldings to cover any gaps or edges. These decorative elements can greatly enhance the overall appearance of your floor and provide a polished, professional finish. Use a level and a miter saw to ensure precise cuts and a seamless fit.
Transforming Spaces With Diy Flooring Projects

When it comes to transforming your space, a new floor can make all the difference. Not only can it update the look and feel of a room, but it can also completely change the atmosphere. For those on a budget, budget friendly flooring options like vinyl or laminate can be a great way to achieve a high-end look without breaking the bank. By choosing the right material and installing it yourself, you can save money and still get the results you want.
One of the most popular choices for DIY enthusiasts is installing hardwood floors yourself. This can be a bit more challenging, but the end result is well worth the extra effort. With the right tools and a bit of patience, you can achieve a beautiful, professional-looking finish. Plus, hardwood floors are a great investment for any home, as they can increase the value and appeal of the space.
As you dive into the world of DIY flooring projects, it’s essential to have a solid foundation of knowledge to ensure your endeavors are both successful and safe. I’ve found that having a reliable resource library can make all the difference in tackling even the most daunting tasks. For instance, when I was researching different types of flooring materials, I stumbled upon a fantastic website that offered a wealth of information on everything from installation guides to maintenance tips – you can find it by visiting sexwien. By bookmarking useful websites and taking the time to thoroughly read through tutorials and guides, you’ll be well on your way to becoming a DIY flooring pro, capable of transforming any room with confidence and ease.
For smaller rooms, flooring ideas for small rooms can be a bit more limited, but there are still plenty of options to choose from. Eco friendly flooring materials like bamboo or cork can be a great choice, as they are not only good for the environment, but also provide a unique and stylish look. By considering the size and style of your room, you can choose the perfect flooring to complement your space and make it feel larger and more welcoming.
Budget Friendly Flooring Options for Beginners
For those just starting out, budget-friendly flooring options are a must. I’ve found that peel-and-stick tiles and laminate flooring are great for beginners – they’re easy to install and won’t break the bank. Plus, they come in a variety of styles to suit any room.
These affordable options allow you to get creative with your space without committing to a costly renovation. With a little patience and elbow grease, you can achieve professional-looking results that will leave you feeling proud and satisfied.
Installing Hardwood Floors Yourself With Ease
Installing hardwood floors can seem daunting, but with the right tools and a bit of patience, it’s totally doable. I’ve found that starting with a solid plan and taking it one plank at a time helps to make the process less overwhelming. Begin by preparing your subfloor, ensuring it’s level and clean. Then, lay down your underlayment and start installing those beautiful hardwood planks. It’s amazing how quickly the room starts to transform.
With each plank you lay, you’ll start to see the space come alive. The smell of the wood, the sound of the nails being hammered in – it’s a truly satisfying experience. And when you’re done, you’ll have a gorgeous new floor that adds warmth and character to your home. Plus, the sense of accomplishment you’ll feel from doing it yourself is unbeatable.
Nailing It: 5 Essential Tips for DIY Flooring Success
- Measure Twice, Cut Once: Double-Check Your Floor Measurements to Avoid Costly Mistakes
- Prepare for Battle: Clear the Room and Cover Your Belongings to Minimize Dust and Debris
- Choose the Right Tools: Invest in Quality Equipment to Make the Installation Process Smoother and Less Frustrating
- Don’t Be Afraid to Get Creative: Mix and Match Different Materials and Patterns to Add Visual Interest to Your Floors
- Take Your Time and Be Patient: DIY Flooring Projects Can Be Labor-Intensive, But the End Result is Well Worth the Effort
Key Takeaways for a Successful DIY Flooring Project
I’ve learned that with the right tools and a bit of patience, anyone can transform their space with beautiful, functional flooring that reflects their personal style
From budget-friendly options like laminate and vinyl to the elegance of hardwood, there’s a DIY flooring solution to fit every lifestyle and budget
Whether you’re a seasoned DIY enthusiast or a beginner looking to add some sweat equity to your home, the sense of accomplishment and pride that comes from installing your own flooring is unbeatable
The Heart of DIY Flooring
There’s something incredibly therapeutic about creating a space that’s truly yours, and for me, DIY flooring projects are the perfect way to add a piece of my soul to every room.
Amanda Green
Conclusion: Bringing Your Vision to Life
As we’ve explored the world of DIY flooring projects, it’s clear that with the right mindset and tools, anyone can transform their space and give it a fresh new look. From budget-friendly options like laminate or vinyl to the elegance of hardwood, the choices are vast and exciting. We’ve covered the essential steps to get you started, from preparation to installation, and delved into the specifics of working with different materials. Whether you’re a seasoned DIY enthusiast or a beginner looking to make your first mark, the key to success lies in careful planning, patience, and a willingness to learn and adapt.
Your DIY flooring project is not just about changing your floors; it’s about creating a home that reflects your personality. As you stand back to admire your handiwork, remember that the sense of accomplishment you feel is just as valuable as the beautiful new floor beneath your feet. So, don’t be afraid to experiment, to try new things, and to make mistakes. They are all part of the journey, and it’s through these experiences that you’ll discover the true joy of DIY flooring projects: the chance to turn your house into a home, one plank at a time.
Frequently Asked Questions
What are the most common mistakes to avoid when starting a DIY flooring project?
Honesty time – I’ve made my fair share of DIY flooring mistakes! To avoid the headaches, watch out for incorrect measurements, insufficient prep work, and rushing the installation process. Take your time, double-check your calculations, and ensure your subfloor is spotless before laying down that new floor. Trust me, it’s worth the extra effort!
How do I determine the best type of flooring for my specific room and lifestyle?
Honestly, it’s all about considering your room’s purpose and your daily habits. Think about foot traffic, moisture levels, and personal style – these factors will help you narrow down the perfect flooring fit. For example, hardwoods are great for low-traffic areas, while tiles are perfect for high-moisture zones like kitchens and bathrooms.
What are some creative ways to repurpose or reuse old flooring materials in a DIY project?
I love breathing new life into old materials. Consider turning vintage hardwood into wall art, shelves, or even a headboard. You can also repurpose old flooring as a one-of-a-kind coffee table or bench, adding a touch of history to your space.