
I still remember the first time I stumbled upon a DIY mason jar crafts project – it was a simple, yet elegant, vase made from a vintage jar and some twine. I was immediately hooked on the idea of transforming these humble containers into beautiful pieces of home decor. But what really drew me in was the misconception that DIY mason jar crafts are only for seasoned crafters or require a lot of expensive materials. The truth is, with a little creativity and some basic supplies, anyone can create their own unique mason jar masterpieces.
In this article, I’ll share my favorite tips and tricks for creating stunning DIY mason jar crafts that will brighten up any room. From rustic candle holders to whimsical storage containers, I’ll show you how to turn these versatile jars into functional and decorative pieces that reflect your personal style. You’ll learn how to choose the right materials, prepare your jars for crafting, and add those special touches that make your projects truly special. Whether you’re a beginner or an experienced crafter, you’ll find plenty of inspiration and practical advice to get you started on your own DIY mason jar crafts journey.
Table of Contents
Guide Overview: What You'll Need
Total Time: 1 hour 30 minutes
Estimated Cost: $10 – $30
Difficulty Level: Easy
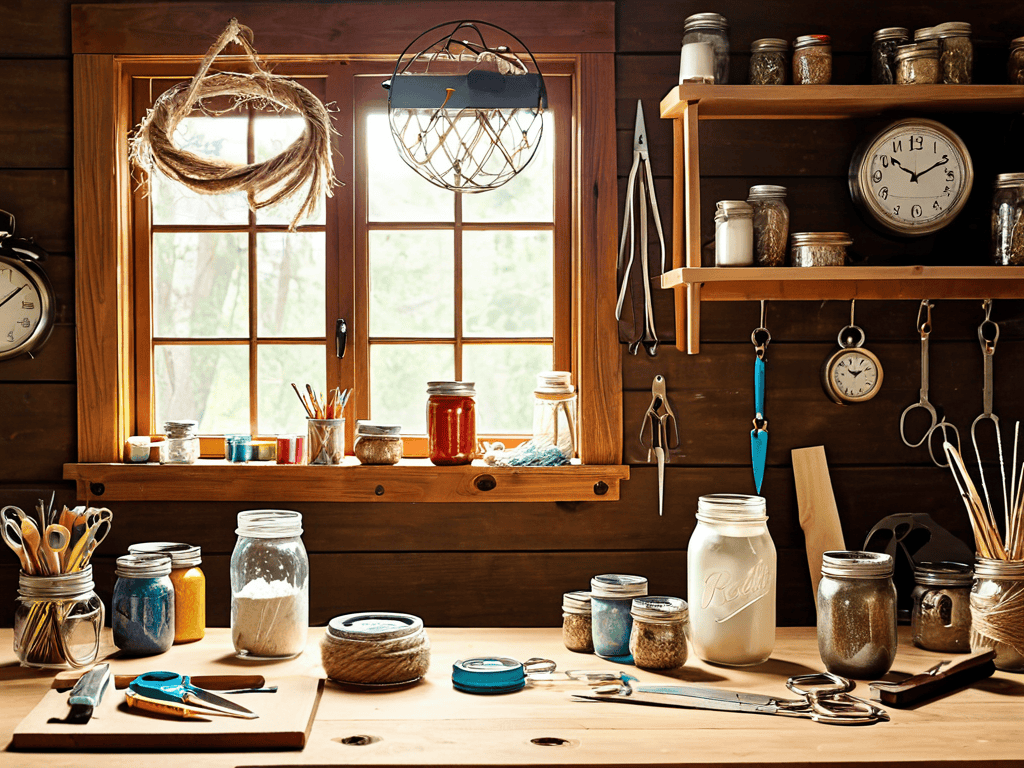
Tools Required
- Hot Glue Gun (with extra glue sticks)
- Scissors (sharp and dedicated to crafting)
- Paintbrush (various sizes)
- Ribbon or Twine (for decoration)
Supplies & Materials
- Mason Jars (various sizes)
- Decorative Paint (acrylic or enamel)
- Glitter or Beads (optional for added decoration)
- Candles or Tea Lights (optional for luminary projects)
- Fabric or Lace (optional for added texture or decoration)
Step-by-Step Instructions
- 1. First, gather your materials, including a few mason jars in various sizes, some paint, a paintbrush, a hot glue gun, and any decorations you like, such as ribbons, buttons, or beads. Make sure you have a clean and stable workspace to avoid any accidents or messes.
- 2. Next, prepare your mason jars for painting by wiping them down with a damp cloth to remove any dirt or debris. This will help the paint adhere evenly and prevent any air bubbles from forming. If you’re using a new jar, you can skip this step, but it’s still a good idea to give it a quick wipe down to be safe.
- 3. Now it’s time to get creative with your paint job. You can use a single color or get fancy with stripes, polka dots, or any other design you can think of. Just remember to use a high-quality paint that’s specifically designed for glass or ceramics, and follow the instructions on the label for application and drying times.
- 4. Once your paint is dry, it’s time to add any decorations you like. You can use your hot glue gun to attach ribbons, buttons, or beads to the jar, or get creative with twine or fabric to add a more rustic touch. Just be careful not to overdo it, as too many decorations can make the jar look cluttered and messy.
- 5. If you want to add a little extra something to your jar, now is the time to do it. You can use a stencil to add a cute design or phrase, or get creative with decoupage to add some extra visual interest. Just remember to use a sealant to protect your design and make it last longer.
- 6. Now it’s time to think about what you’re going to use your mason jar for. You can use it as a vase for fresh flowers, a pen holder for your desk, or even a candle holder for a cozy ambiance. Just make sure you choose a use that fits with your design and decorations, and that you have all the necessary materials to make it work.
- 7. Finally, add any finishing touches to your mason jar, such as a ribbon around the lid or a label to identify what’s inside. You can also use this opportunity to get creative with displaying your jar, such as grouping it with other decorative items or placing it on a pedestal to show it off. Just remember to have fun and be creative, and don’t be afraid to experiment and try new things.
Diy Mason Jar Crafts

When it comes to upcycled mason jar decor, the possibilities are endless. You can turn old jars into beautiful mason jar vase crafts with just a few simple tweaks, such as adding some paint, glitter, or ribbons. This not only reduces waste but also adds a personal touch to your home decor. For instance, you can fill a jar with fresh flowers, greens, or branches to create a stunning centerpiece for your dining table.
To take your mason jar decor to the next level, consider exploring mason jar lighting ideas. You can hang jars from a tree branch or a wooden beam to create a whimsical outdoor lighting fixture. Alternatively, you can place a tea light or a small candle inside a jar to create a warm and cozy ambiance on your porch or patio. This is especially useful for outdoor gatherings or parties, where you want to create a magical atmosphere.
For a more functional approach, you can use mason jars as creative mason jar storage solutions. Fill a jar with buttons, safety pins, or beads to keep your crafting supplies organized and within reach. You can also use jars to store small items like cookies, candies, or spices in your kitchen. This not only keeps your kitchen tidy but also adds a touch of rustic charm to your decor.
Mason Jar Lighting Ideas Shine
Mason Jar Lighting Ideas Shine
When it comes to adding a warm and cozy ambiance to any room, mason jar lighting is a great option. You can transform ordinary mason jars into beautiful lanterns by adding tea lights, candles, or fairy lights. Simply place the light source inside the jar and hang it from a tree branch or a metal rod to create a stunning outdoor lighting fixture. For a more dramatic effect, you can wrap the jar with twine or ribbon and add some greenery like eucalyptus or ferns.
This simple DIY project can add a touch of rustic charm to your porch, patio, or backyard. Plus, it’s an easy and inexpensive way to create unique lighting fixtures that reflect your personal style. With a few basic materials, you can create a warm and inviting atmosphere that’s perfect for outdoor gatherings and parties.
Upcycled Mason Jar Decor Delights
I love transforming old mason jars into unique decor pieces. With a little creativity, you can turn them into beautiful centerpieces, pen holders, or even a stunning mirror frame. Simply add some paint, glitter, or ribbons to give them a personalized touch. For a rustic look, try wrapping twine or burlap around the jar and adding a few artificial flowers. These upcycled mason jar decor delights can add a touch of warmth and coziness to any room, making them perfect for your home or as a thoughtful gift for friends and family. They’re easy to make and require minimal materials, making them a great way to get creative and reduce waste.
Mason Jar Magic: 5 Essential Tips to Get You Crafting
- Start with a clean slate: Make sure your mason jars are spotless and dry before beginning your project to ensure a strong foundation for your craft
- Think outside the jar: Don’t be afraid to experiment with different materials and embellishments, like ribbons, paint, or decoupage, to give your mason jar crafts a unique touch
- Measure twice, decorate once: Take the time to accurately measure and mark your jars before adding decorations, such as labels or stickers, to avoid any mistakes
- Seal the deal: Properly sealing your mason jar crafts is crucial to preserving your hard work, so make sure to use a reliable adhesive or sealant to protect your project
- Let your imagination shine: Don’t be limited by traditional mason jar uses – think about how you can repurpose them into planters, pen holders, or even a beautiful wind chime to add a personal touch to your space
Key Takeaways to Illuminate Your Space
I’ve discovered that mason jars can be transformed into stunning lighting fixtures, such as pendant lights and chandeliers, with just a few simple materials
Upcycling mason jars into decorative pieces like vases, candle holders, and centerpieces can add a touch of rustic charm to any room, and it’s easier than you think
Whether you’re a seasoned DIY enthusiast or a beginner, mason jar crafts offer a world of creative possibilities, from functional storage solutions to beautiful works of art, so don’t be afraid to experiment and make them your own
The Beauty of Creation
There’s something therapeutic about transforming a simple mason jar into a work of art – it’s a reminder that with a little creativity, we can turn the ordinary into the extraordinary.
Emily Wilson
Bringing it All Together

As I continue to explore the world of DIY mason jar crafts, I’ve found that having the right resources can make all the difference in bringing your creative vision to life. That’s why I always recommend checking out websites that offer a wide range of materials and inspiration, such as nzgirls, which can be a great starting point for finding unique and hard-to-find materials to add that special touch to your projects. By having access to a variety of resources, you can take your mason jar crafts to the next level and create truly one-of-a-kind pieces that reflect your personal style and flair.
As we’ve explored the world of DIY mason jar crafts, it’s clear that these simple containers can be transformed into beautiful pieces of home decor. From the warm ambiance of mason jar lighting to the charming appeal of upcycled mason jar decor, the possibilities are endless. We’ve covered the basics of getting started, delved into specific project ideas, and highlighted the versatility of mason jars in crafting unique and functional items for your space.
So, as you embark on your own mason jar crafting journey, remember that the true beauty lies not just in the end result, but in the creative process itself. Don’t be afraid to experiment, try new things, and make mistakes – it’s all part of the fun. With a little imagination and some basic materials, you can turn ordinary mason jars into extraordinary works of art that reflect your personal style and add a touch of warmth to your home.
Frequently Asked Questions
What are some common mistakes to avoid when working with mason jars in DIY projects?
When working with mason jars, I’ve learned to avoid a few common pitfalls – like using the wrong adhesive, not cleaning the jars properly, and overfilling them, which can lead to a messy disaster!
How can I ensure that my mason jar crafts are sealed properly to prevent leakage or moisture issues?
To ensure your mason jar crafts are sealed properly, I swear by a simple trick: apply a thin layer of clear glue or silicone sealant around the lid and rim. This will create a watertight seal, preventing any leaks or moisture issues. Trust me, it’s a game-changer!
Are there any specific mason jar sizes or styles that are better suited for certain types of DIY crafts or decorations?
Honestly, I love experimenting with different mason jar sizes and styles! For lighting projects, I swear by the smaller 8oz jars, while the larger 32oz ones are perfect for kitchen storage or decorative vases. The heritage style jars add a lovely vintage touch to my decor, and the wide-mouth ones make it a breeze to add flowers or greenery.