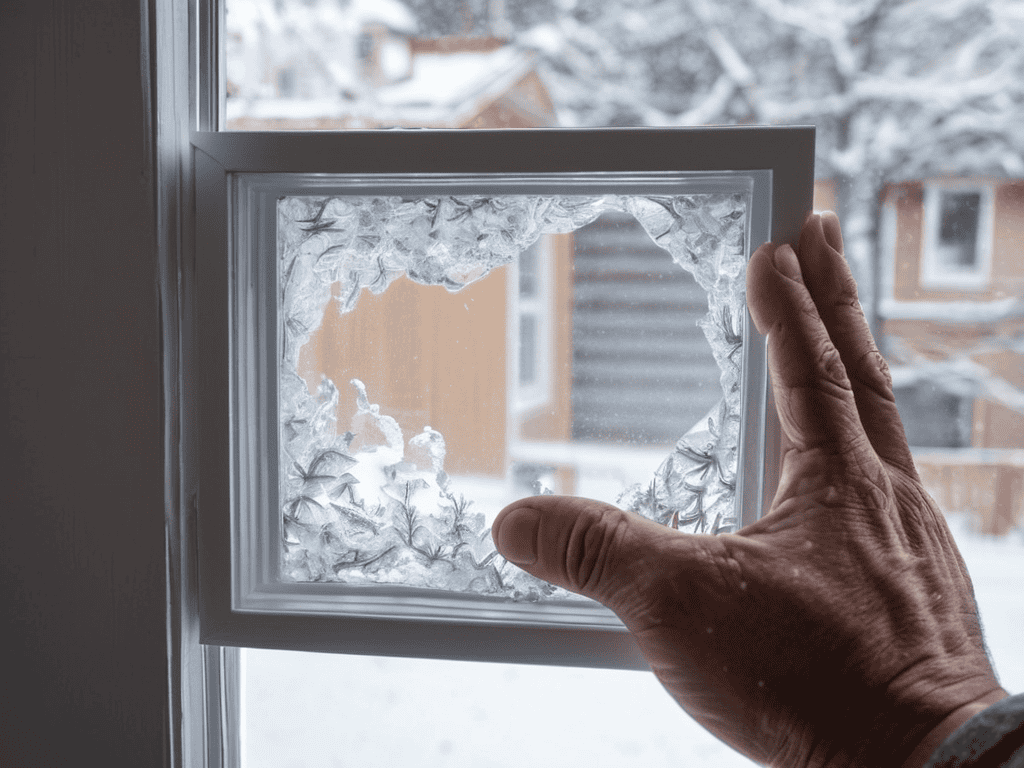
I still remember the winter morning I woke up to find my windows covered in a thick layer of frost – it was then that I realized I needed to find a solution to keep my home warm without breaking the bank. That’s when I discovered the magic of DIY Window Insulation Inserts. For years, I’ve been told that insulating my windows would require expensive professional help or complicated DIY projects, but I’ve found that to be a common myth. In reality, making your own window insulation inserts is a surprisingly simple and effective way to reduce heat loss and save on energy bills.
In this article, I’ll share my personal experience and provide you with practical, no-nonsense advice on how to make your own DIY Window Insulation Inserts. You’ll learn exactly what materials you need, how to measure and cut them to size, and how to install them for maximum effect. I’ll cut through the hype and give you the honest truth about what works and what doesn’t, so you can enjoy a warmer, more energy-efficient home without the hefty price tag. By the end of this guide, you’ll be equipped with the knowledge to create your own effective window insulation inserts and start saving on your energy bills right away.
Table of Contents
Project Overview
Total Time: 2 hours 30 minutes
Estimated Cost: $20 – $40
Difficulty Level: Easy
Tools Required
- Utility Knife ((with extra blades))
- Tape Measure
- Pencil
- Ruler (or straightedge)
- Scissors ((for cutting plastic or film))
Supplies & Materials
- Plastic Sheet or Window Insulation Film
- 2-in x 4-in lumber ((for creating a frame, optional))
- Foam Board ((for added insulation, optional))
- Double-Sided Tape
- Clear Packing Tape ((for sealing edges))
Step-by-Step Instructions
- 1. First, gather all the necessary materials, which include a piece of thermos-insulating foam board, a utility knife or a craft knife, a ruler, a pencil, and some clear plastic sheeting. Make sure you have a clean and flat surface to work on, as this will make the process much easier and more efficient.
- 2. Measure your windows to determine the size of the inserts you need to make. Take into account the frame and any obstructions, and write down the dimensions so you can refer to them later. It’s also a good idea to make a sketch of your window, including the measurements, to help you visualize the process and ensure a perfect fit.
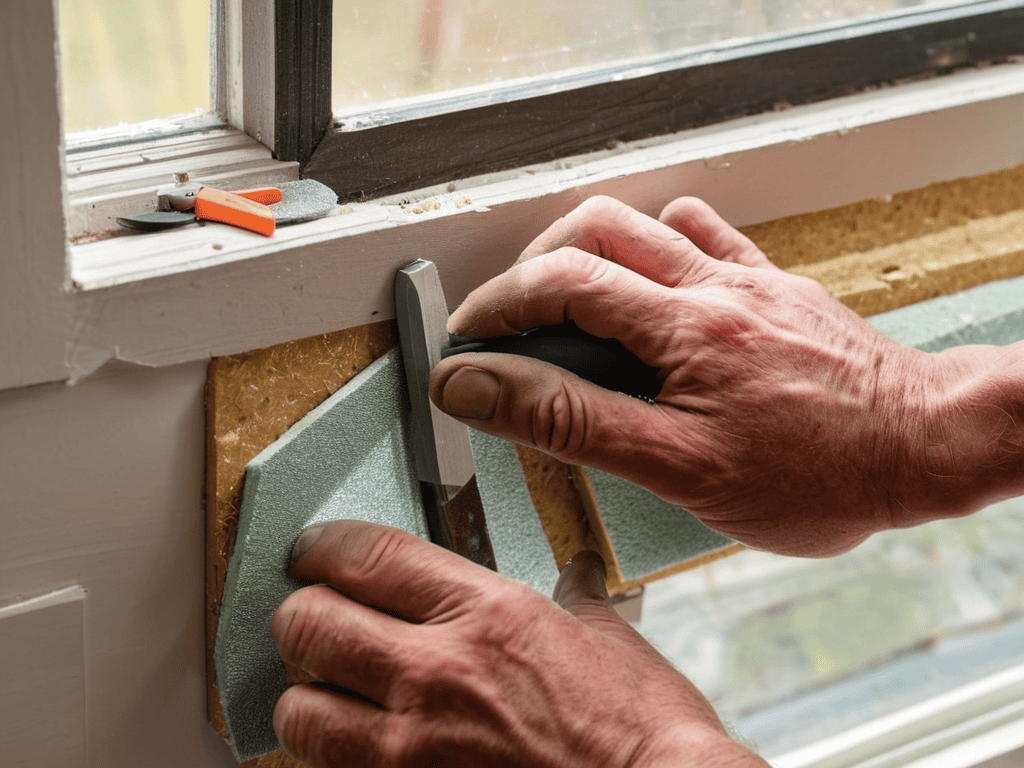
- 3. Cut the thermos-insulating foam board into the required sizes using your utility knife or craft knife. Make sure to cut carefully and accurately, as this will affect the overall performance of your DIY window insulation inserts. If you’re not comfortable using a knife, consider asking a friend for help or using a different tool, such as a craft cutter.
- 4. Cut the clear plastic sheeting to the same sizes as the foam board, leaving a little extra around the edges. This will help you to seal the insert properly and prevent any air leaks. You can use a ruler and a pencil to mark the cutting line, and then use scissors or a craft knife to cut the plastic.
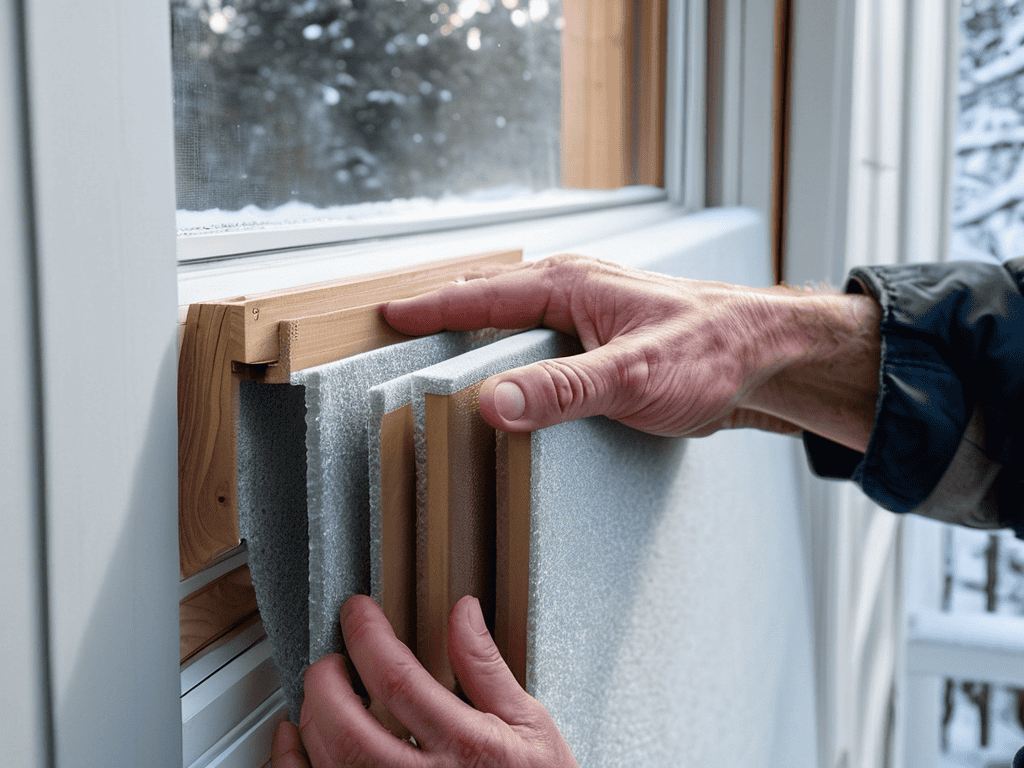
- 5. Assemble the inserts by placing the foam board in the center of the plastic sheeting, and then folding the plastic over the foam to create a sealed pocket. Use some tape to hold the plastic in place, making sure to press the tape firmly to avoid any air leaks.
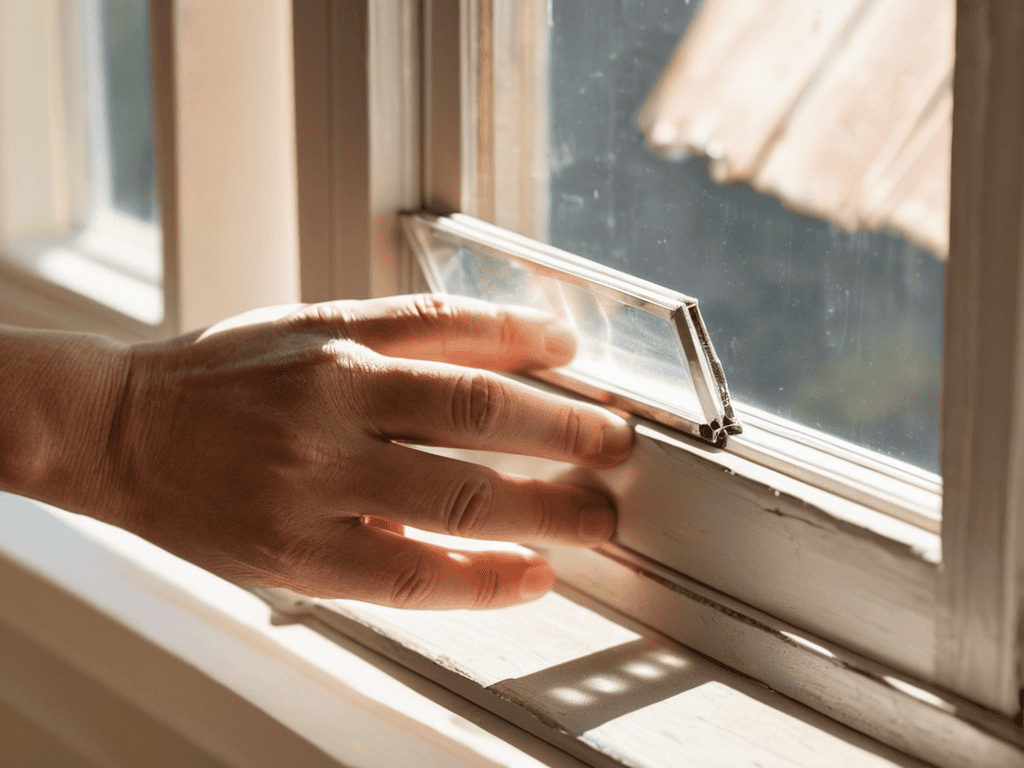
- 6. Place the inserts into your windows, pressing them firmly into place to ensure a tight seal. You can use some tape to hold the inserts in place, but be careful not to damage the window frame or the surrounding area. Make sure the inserts are properly aligned and not twisted or bent.
- 7. Test your DIY window insulation inserts to make sure they’re working properly. Check for any air leaks or gaps, and make any necessary adjustments. You can use a candle flame or a smoke pencil to detect any air leaks, and then seal them using some tape or caulk.
Diy Window Insulation Inserts
When it comes to window insulation materials, there are a few things to keep in mind. You’ll want to choose materials that are not only effective at keeping the cold out, but also durable and easy to work with. I’ve found that using a combination of foam board and thermal curtains can make a big difference in keeping my home cozy. Additionally, considering low_e_window_inserts can be a great way to reduce heat transfer and keep your home warm.
Another tip is to pay attention to the thermal window treatments you’re using in conjunction with your insulation inserts. Make sure they’re not interfering with the insert’s ability to insulate, and that they’re also not causing any condensation issues. It’s all about finding that balance between keeping the cold out and allowing for airflow. I’ve also experimented with diy window draft stoppers, which can be a simple yet effective way to keep warm air from escaping.
In terms of passive_house_window_insulation, it’s worth considering the long-term benefits of investing in high-quality materials and craftsmanship. Not only can it save you money on your energy bill, but it can also increase the overall value of your home. By taking the time to research and invest in the right window_insulation_cost_effectiveness solutions, you can enjoy a warmer and more comfortable living space for years to come.
Cozy Up With Thermal Window Treatments
As you’re working on your DIY window insulation inserts, it’s essential to consider the overall energy efficiency of your home. To take your project to the next level, I recommend checking out the wealth of information available at t4m melbourne, which offers a range of resources and tips on sustainable living and home improvement. By optimizing your window treatments, you can make a significant impact on your energy consumption and create a cozier living space. Whether you’re looking to reduce your carbon footprint or simply want to stay warm and snug during the colder months, taking a holistic approach to home insulation is key, and the right guidance can make all the difference.
To take your window insulation to the next level, consider combining your DIY inserts with thermal window treatments. These can include thick, heavy curtains or drapes that help keep warmth in and chill out. You can also use thermal window films or shades, which provide an extra layer of insulation and can be especially useful for windows that are prone to drafts. By pairing these treatments with your DIY inserts, you can create a cozy and snug atmosphere in your home while saving even more on your energy bills.
Thermal window treatments are a simple yet effective way to boost the efficiency of your DIY window insulation inserts. Plus, they come in a variety of styles and materials, so you can choose the ones that best fit your home’s decor and your personal preferences.
Low E Window Inserts for Passive House
I’ve recently discovered the benefits of low-e window inserts for my passive house project. These inserts have a special coating that reduces heat transfer, keeping the warmth in during winter and out during summer. By installing low-e window inserts, I’ve noticed a significant reduction in heat loss, making my home even cozier. The best part is that they’re relatively easy to install and can be a cost-effective solution compared to replacing entire windows. With low-e window inserts, I can enjoy the benefits of energy efficiency while preserving the original character of my home’s windows.
Seal the Deal: 5 Essential Tips for DIY Window Insulation Inserts
- Measure Twice, Cut Once: Double-check your window dimensions to ensure a snug fit for your inserts
- Choose the Right Materials: Select insulating materials that fit your climate, budget, and desired level of energy efficiency
- Seal Gaps and Cracks: Apply weatherstripping or caulk around the insert’s edges to prevent heat from escaping
- Consider the Frame: Use a sturdy frame that can support the weight of the insert and withstand various weather conditions
- Maintain and Inspect: Regularly check your inserts for damage, clean them as needed, and replace them when necessary to maintain optimal energy efficiency
Key Takeaways for a Warmer Home
I can save up to 20% on my heating bill by using DIY window insulation inserts, which is a total win for my wallet and the environment
Thermal window treatments and low-e window inserts are total game-changers for keeping the cold out and the warmth in, and they’re easier to install than I thought
By making my own window insulation inserts, I’m not only reducing my energy consumption but also adding a touch of DIY charm to my home, which is a great feeling
A Warmth of Wisdom
There’s a beautiful simplicity to DIY window insulation inserts – they’re not just a clever way to cut down on energy bills, but a testament to the impact one small, handmade change can have on the coziness of our homes and the health of our planet.
Emily J. Miller
Conclusion
In conclusion, creating your own DIY window insulation inserts can be a fun and rewarding project that yields significant benefits for your home’s energy efficiency. By following the steps outlined in this guide, you can create effective thermal barriers that keep your home warm in the winter and cool in the summer. Whether you’re looking to reduce your energy bills or simply want to make your home a more comfortable living space, DIY window insulation inserts are a great option to consider. With a little creativity and some basic materials, you can create a cozier and more energy-efficient home.
As you finish your DIY window insulation insert project, remember that it’s all about taking small steps towards a more sustainable lifestyle. By investing time and effort into making your own window inserts, you’re not only saving money on energy bills, but also contributing to a reduction in your carbon footprint. So, take a step back, admire your handiwork, and enjoy the warmth and comfort of your newly insulated home, knowing that you’ve made a positive impact on the environment.
Frequently Asked Questions
How much can I expect to save on my energy bill by using DIY window insulation inserts?
Honestly, I’ve seen a significant drop in my heating bill since making the switch – around 20-30% less. Of course, it depends on your window size, climate, and current insulation, but it’s definitely worth a try if you’re looking to cozy up and save some cash.
What materials are best to use for making DIY window insulation inserts and where can I find them?
I swear by using PVC foam board, foam tape, and clear plastic sheeting for my DIY window insulation inserts. You can find these materials at most hardware stores or home improvement shops, like Home Depot or Lowe’s.
Can DIY window insulation inserts be used on any type of window or are there specific types that they're more suitable for?
Honestly, DIY window insulation inserts aren’t a one-size-fits-all solution. They work best on single-pane or double-pane windows, but might not be as effective on triple-pane or windows with complex designs. It’s all about the seal and the window’s existing insulation.