I still remember the summer I spent sweltering in my own home because I couldn’t figure out how to replace the window screen. It was a simple task, but one that seemed daunting at the time. The truth is, replacing window screen is not as complicated as it’s often made out to be. In fact, with the right tools and a bit of patience, you can have a new screen up in no time, letting the cool breeze in and keeping those pesky insects out.
In this article, we’ll cut through the noise and give you the honest advice you need to replace your window screen with ease. We’ll cover the basics, from removing the old screen to installing the new one, and provide you with some helpful tips along the way. By the end of this guide, you’ll be equipped with the knowledge and confidence to tackle this simple yet rewarding task, and you’ll be enjoying the fresh air and beautiful views in no time. So, let’s get started and make replacing window screen a breeze!
Table of Contents
Project Overview
Total Time: 1 hour 15 minutes
Estimated Cost: $20 – $40
As you’re working on replacing your window screen, it’s not uncommon to encounter some unexpected challenges along the way, like figuring out the right tension for your screen mesh or dealing with tricky window frame corners. If you’re someone who likes to have a little extra guidance or just wants to connect with others who are going through the same DIY adventures, I’ve found that online communities can be a great resource. For instance, you can find some really helpful tips and tricks by chatting with others in a free online chat, like the one you can find at kostenloser Chat, where people often share their own DIY experiences and solutions to common problems.
Difficulty Level: Easy
Tools Required
- Utility Knife ((with extra blades))
- Screwdriver ((flathead and Phillips))
- Roller ((for smoothing out the screen))
- Measuring Tape ((for accurate measurements))
- Pliers ((for removing old screen spline))
Supplies & Materials
- Window Screen Material ((available in various sizes and types))
- Screen Spline ((rubber spline for securing the screen))
- Screen Frame ((if the old frame is damaged))
Step-by-Step Instructions
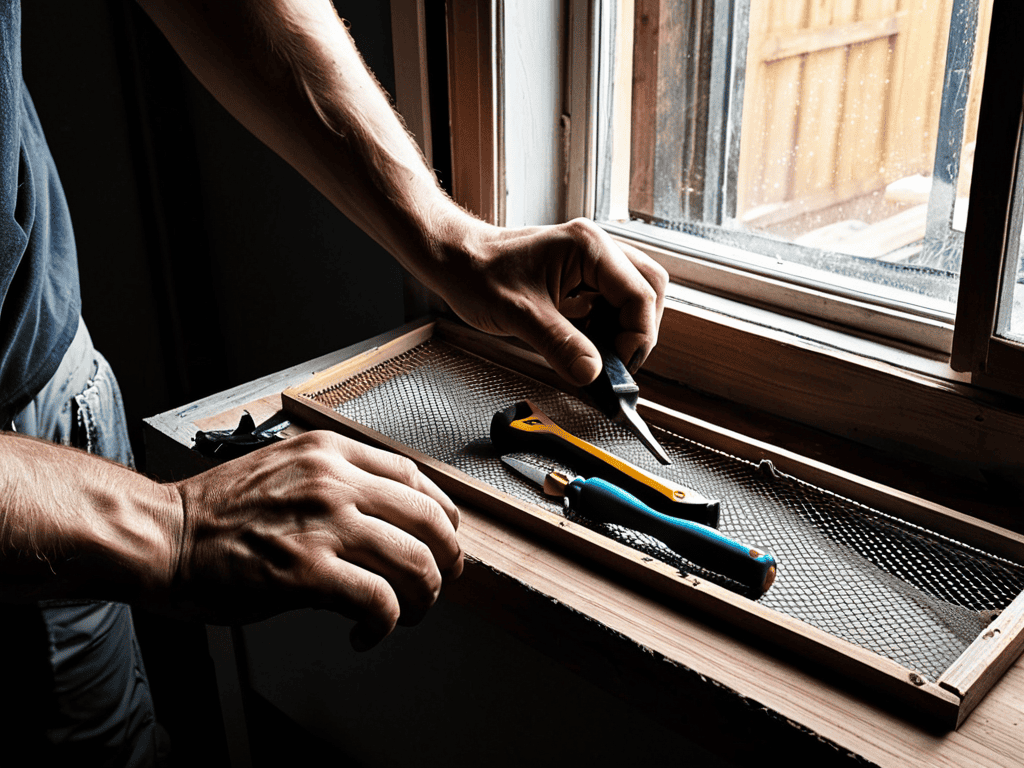
- 1. First, let’s get started by gathering our tools and materials, which include a new window screen, a spline roller, a utility knife, and a pair of gloves to protect our hands from any sharp edges. We’ll also need a flat surface to work on, so make sure you have a clear and stable area to lay out your screen and tools.
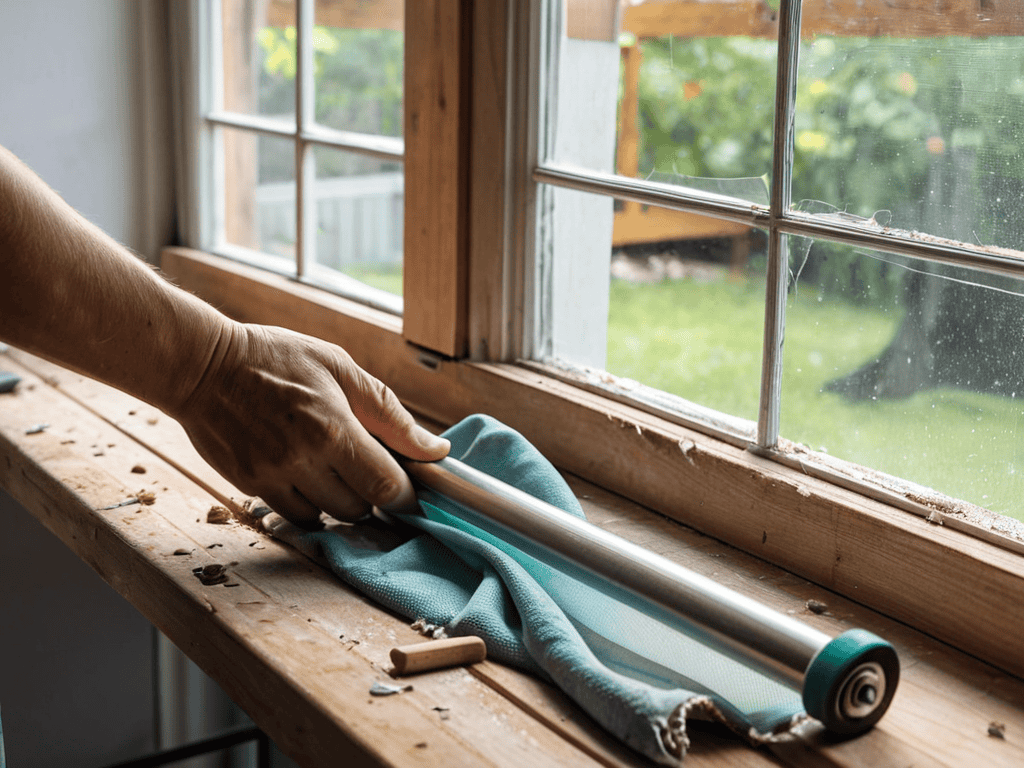
- 2. Next, we need to remove the old screen from the window frame. This is usually done by pulling out the old spline, which is the rubber cord that holds the screen in place. Use your utility knife to carefully cut the spline, taking care not to damage the frame. Once the spline is removed, you should be able to pull out the old screen easily.
- 3. Now it’s time to inspect and clean the frame, making sure there are no remaining bits of the old spline or any debris that could interfere with the new screen. Use a soft brush or a cloth to wipe down the frame, and make sure it’s completely dry before moving on to the next step.
- 4. With the frame clean and ready, we can start to prepare the new screen. Take your new window screen and cut it to size, leaving a little extra material around the edges to ensure a snug fit. Use your utility knife to make a clean cut, and be careful not to stretch or distort the screen as you work.
- 5. Next, we’ll start to install the new screen by placing it into the frame. Make sure it’s centered and smooth out any wrinkles or air pockets. Use your fingers or a flat tool to press the screen into place, working from the center outwards to avoid any bubbles or creases.
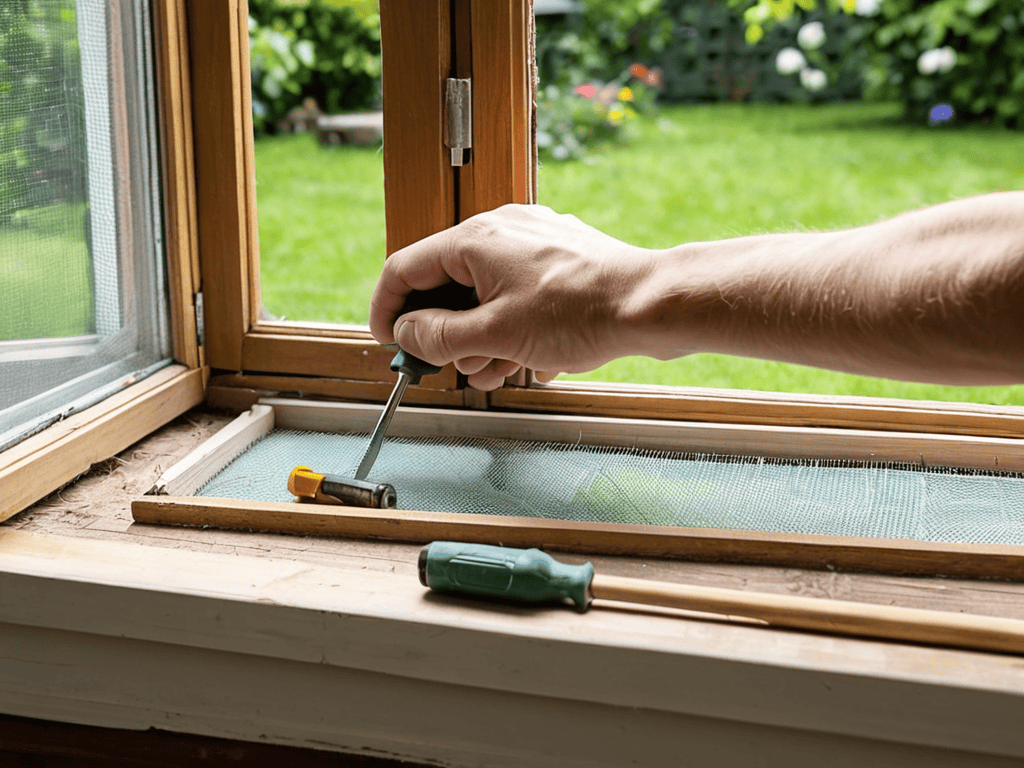
- 6. Now it’s time to secure the screen with the new spline. Take your spline roller and press the new spline into the frame, making sure it’s firmly seated and the screen is tight. Use a steady, consistent pressure to avoid stretching or distorting the screen, and work your way around the frame until the spline is fully in place.
- 7. Finally, let’s test the screen to make sure it’s working properly. Check for any gaps or weaknesses in the spline, and make sure the screen is tight and even. Give it a few tugs to make sure it’s securely in place, and then you’re done – you’ve successfully replaced your window screen and can now enjoy the fresh air and sunshine.
Replacing Window Screen
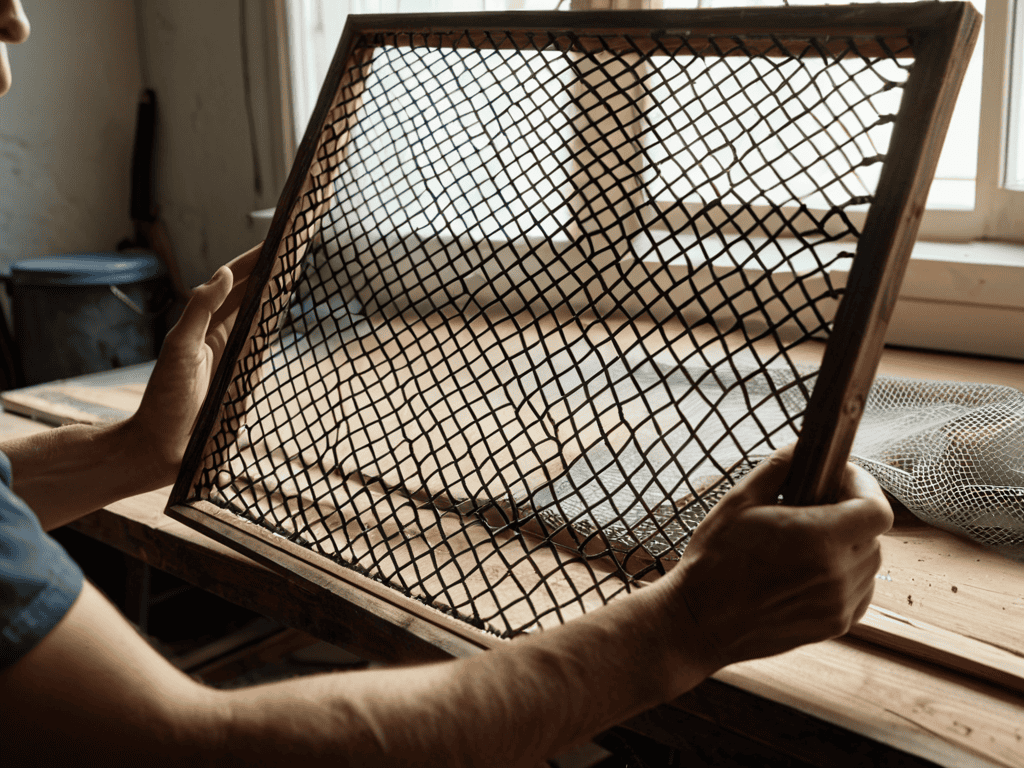
When it comes to window screen frame repair, it’s essential to inspect the frame for any damage or rot before installing a new screen. This will ensure a secure fit and prevent any further damage to the surrounding area. Choosing the right screen mesh is also crucial, as it can affect the overall durability and functionality of the window screen.
In addition to the main steps, diy window screen installation tips can be incredibly helpful in achieving a professional-looking result. For instance, using a rubber roller to press the screen mesh into the frame can help prevent wrinkles and air pockets. It’s also important to consider upgrading to pet resistant screens if you have furry friends at home, as these screens are designed to withstand scratches and bites.
Regular window screen maintenance can help extend the life of your window screens and prevent costly repairs. This includes cleaning the screens regularly and inspecting them for any damage or wear. By following these tips and considering factors like measuring for a window screen replacement, you can enjoy a well-functioning and long-lasting window screen that lets in the fresh air and keeps out unwanted pests.
Choosing Right Screen Mesh
When it comes to choosing the right screen mesh, there are a few factors to consider. You’ll want to think about the type of windows you have, the amount of sunlight they get, and the local insect population. For example, if you live in an area with a lot of mosquitoes or other small insects, you’ll want a mesh with a finer weave to keep them out.
A fiberglass or aluminum mesh is a good all-purpose choice, while a pet screen is a must if you have furry friends who like to lean on the windows. Consider the color and style of your windows and home exterior as well, to ensure the mesh blends in seamlessly.
Diy Installation Tips
When installing your new window screen, make sure to handle the mesh carefully to avoid wrinkles or creases. Start by attaching the screen to the frame using the provided spline or rubber strip, working your way around the perimeter. Use a spline roller to secure the mesh tightly, ensuring a smooth finish.
To avoid bubbles or air pockets, use a flat tool like a credit card to gently press out any excess air as you go. This will help you achieve a professional-looking result without the need for specialized tools.
Screening 101: 5 Essential Tips for a Smooth Window Screen Replacement
- Measure your window frame accurately to ensure a perfect fit for your new screen
- Choose the right screen mesh type for your needs, whether it’s for insect protection, pet safety, or UV blocking
- Use a spline roller to securely attach the screen mesh to the frame, and make sure it’s tight enough to prevent sagging
- Apply a thin layer of silicone spray to the frame’s grooves before installing the new screen to ensure a smooth glide and prevent damage
- Inspect your window frame for any debris or old adhesive before installing the new screen, and clean it thoroughly to ensure a strong bond between the screen and the frame
Key Takeaways for a Breezy Success
Choose the right screen mesh for your needs, considering factors like durability, visibility, and pest control to ensure your window screen serves you well
Follow DIY installation tips to avoid common mistakes, such as incorrect frame sizing or mesh tension, which can lead to a faulty or inefficient window screen
Regular maintenance and timely replacement of your window screen can significantly improve airflow, reduce pest issues, and enhance the overall comfort of your home
Words of Wisdom
Replacing your window screen isn’t just about letting the breeze in, it’s about letting the fresh start in – a chance to revitalize your space and your senses.
Emily J. Miller
Conclusion
Replacing your window screen is a simple and effective way to let the fresh air in and keep the pests out. To recap, we’ve covered the essential steps to replace your window screen, from choosing the right screen mesh to DIY installation tips. By following these steps, you’ll be able to enjoy the benefits of a new window screen in no time. Remember to consider factors like durability and maintenance when selecting your screen mesh, and don’t hesitate to reach out for help if you need it.
As you complete this project, remember that it’s all about taking control of your space and making it comfortable and enjoyable for you and your loved ones. With your new window screen in place, you’ll be able to breathe easy knowing that you’ve taken care of a crucial aspect of your home’s maintenance. So go ahead, take a step back, and admire your handiwork – you’ve earned it!
Frequently Asked Questions
What are the most common reasons for replacing a window screen?
So, what makes you wanna replace that window screen? Usually, it’s because the old one’s torn, worn out, or maybe you’re dealing with pesky bugs and debris getting in. Sometimes, it’s just a matter of updating to a better screen mesh for improved airflow or UV protection. Whatever the reason, replacing it is a breeze.
How do I measure my window to ensure I get the correct size screen?
To get the right size screen, measure your window’s width and length using a tape measure. Record the dimensions, then add 1/8 inch to each for a snug fit. Don’t forget to measure both the width and length of your window frame to ensure a proper fit.
Can I use a different type of screen mesh for improved durability or insect protection?
Yeah, you can definitely use different types of screen mesh for improved durability or insect protection. For example, pet screens are super tough, while fiberglass or aluminum screens provide great protection against tiny insects. Just make sure to choose a mesh that fits your needs and is compatible with your window frame.